
Map the job path from infeed to packing
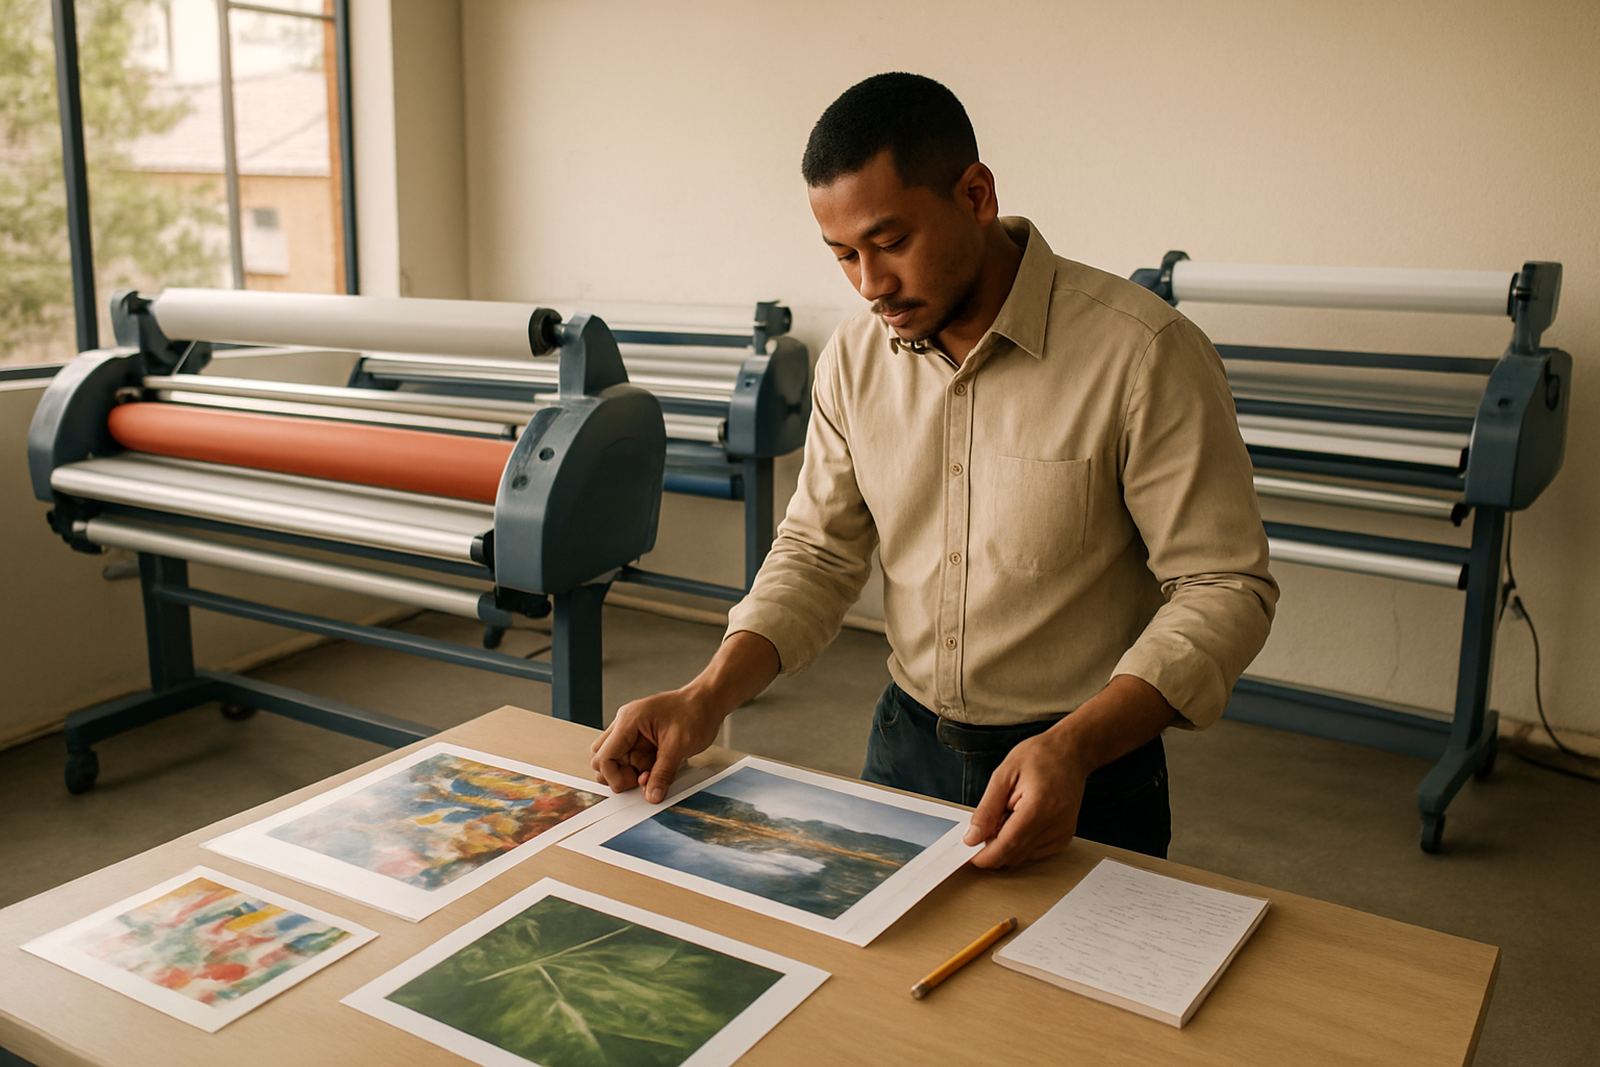
Start by drawing the full route a printed sheet or roll takes through your finishing area. In most Johannesburg shops, the safest layout is a simple straight flow: receiving, inspection, trimming, lamination, cooling, cutting, packing, then dispatch. Keep the path short and avoid turning finished work back through active print zones where dust, offcuts and foot traffic can cause marks or confusion.
For wide-format work, allow enough clear floor space for rolls, boards and cartons. A 1.2 metre walkway is a practical minimum, but 1.5 metres is better where trolleys move often. If your team handles event graphics, posters, school signage or artwork, plan for pieces that may be longer than the machine itself. That reduces the chance of bending edges or dragging prints across the floor. In humid parts of Gauteng and coastal areas, a clean, dry route matters even more because curled media can make handling slower and more error prone.
Set zones for clean work and heavier handling
Separate the finishing area into clear zones so operators know where each task happens. Keep clean handling near the laminator and trimming table, while heavier storage, waste bins and packing materials can sit further away. If the same room also holds consumables, label shelves and reserve one side for active jobs only. That small discipline helps with colour work, edge protection and less picking up the wrong batch.
- Receiving zone: check the job ticket, size, quantity and finish requirements.
- Prep zone: remove dust, flatten curled prints and confirm cut marks.
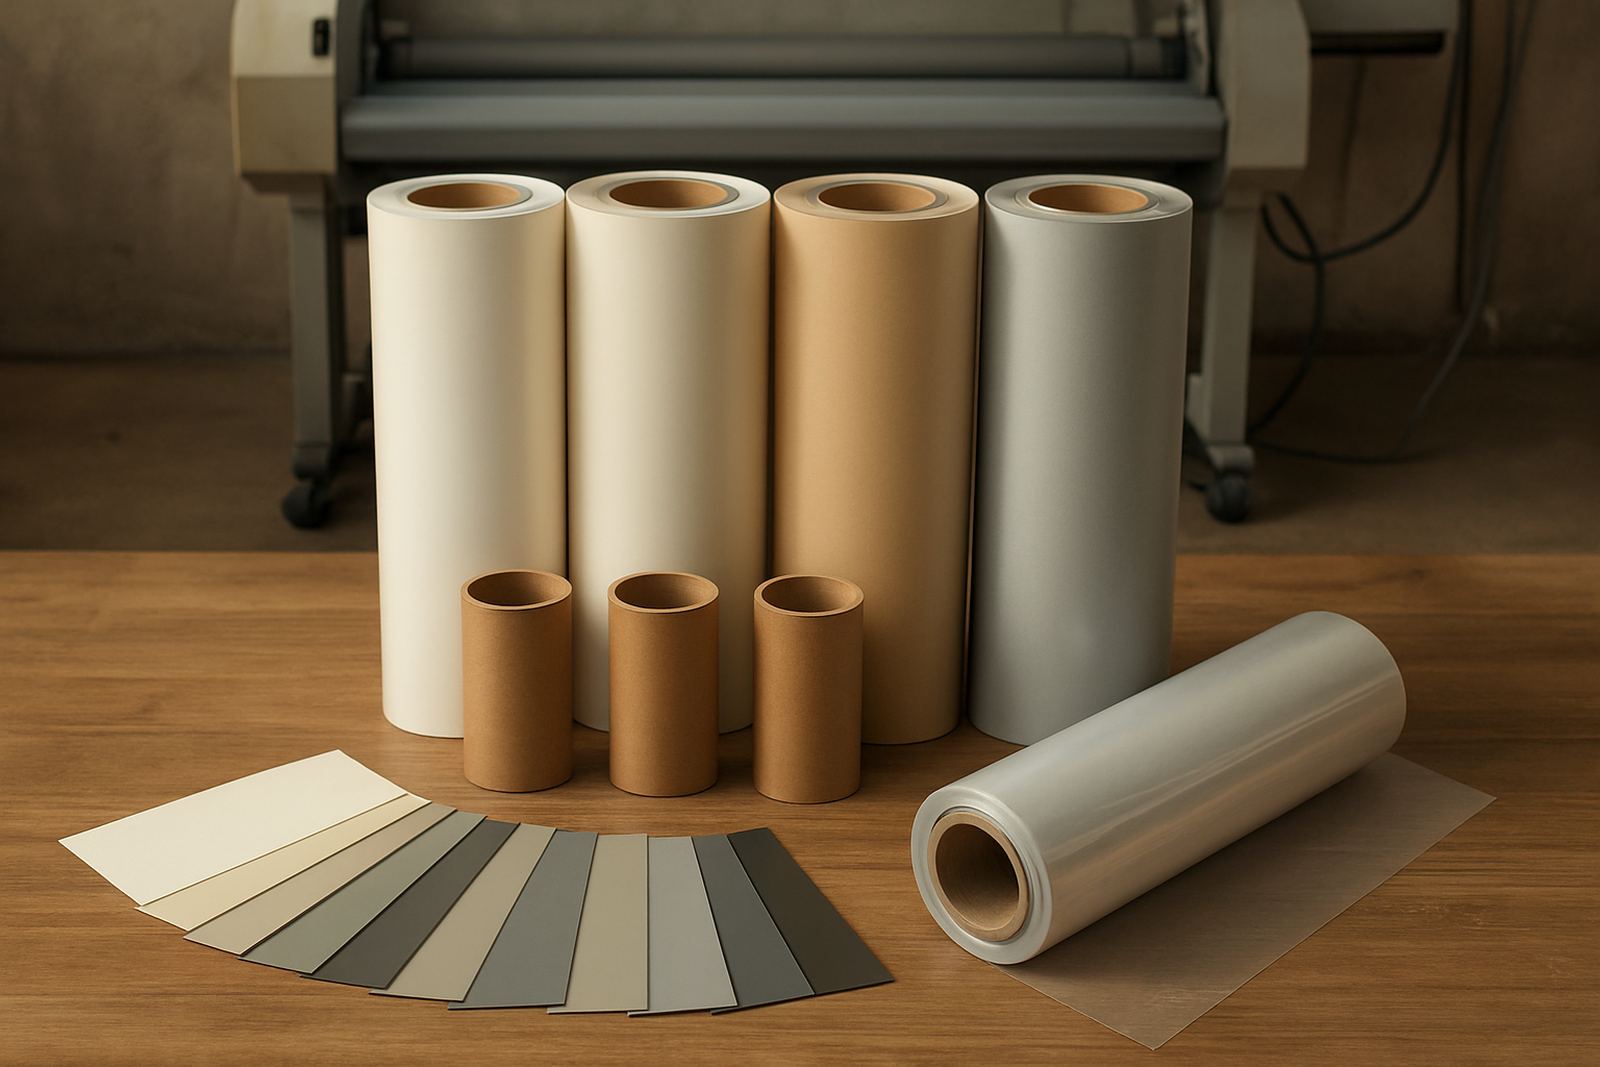
- Lamination zone: keep film, cores and tools within arm’s reach.
- Cooling zone: allow finished work to settle before trimming or stacking.
- Packing zone: sleeve, carton or roll jobs by delivery method.
If you serve clients in Sandton, Midrand or Pretoria, the same layout helps when turnaround times are tight and multiple jobs move at once. A clear zone system means fewer mix-ups and faster handover to the courier or installer.
Position machines to reduce lifting and rework
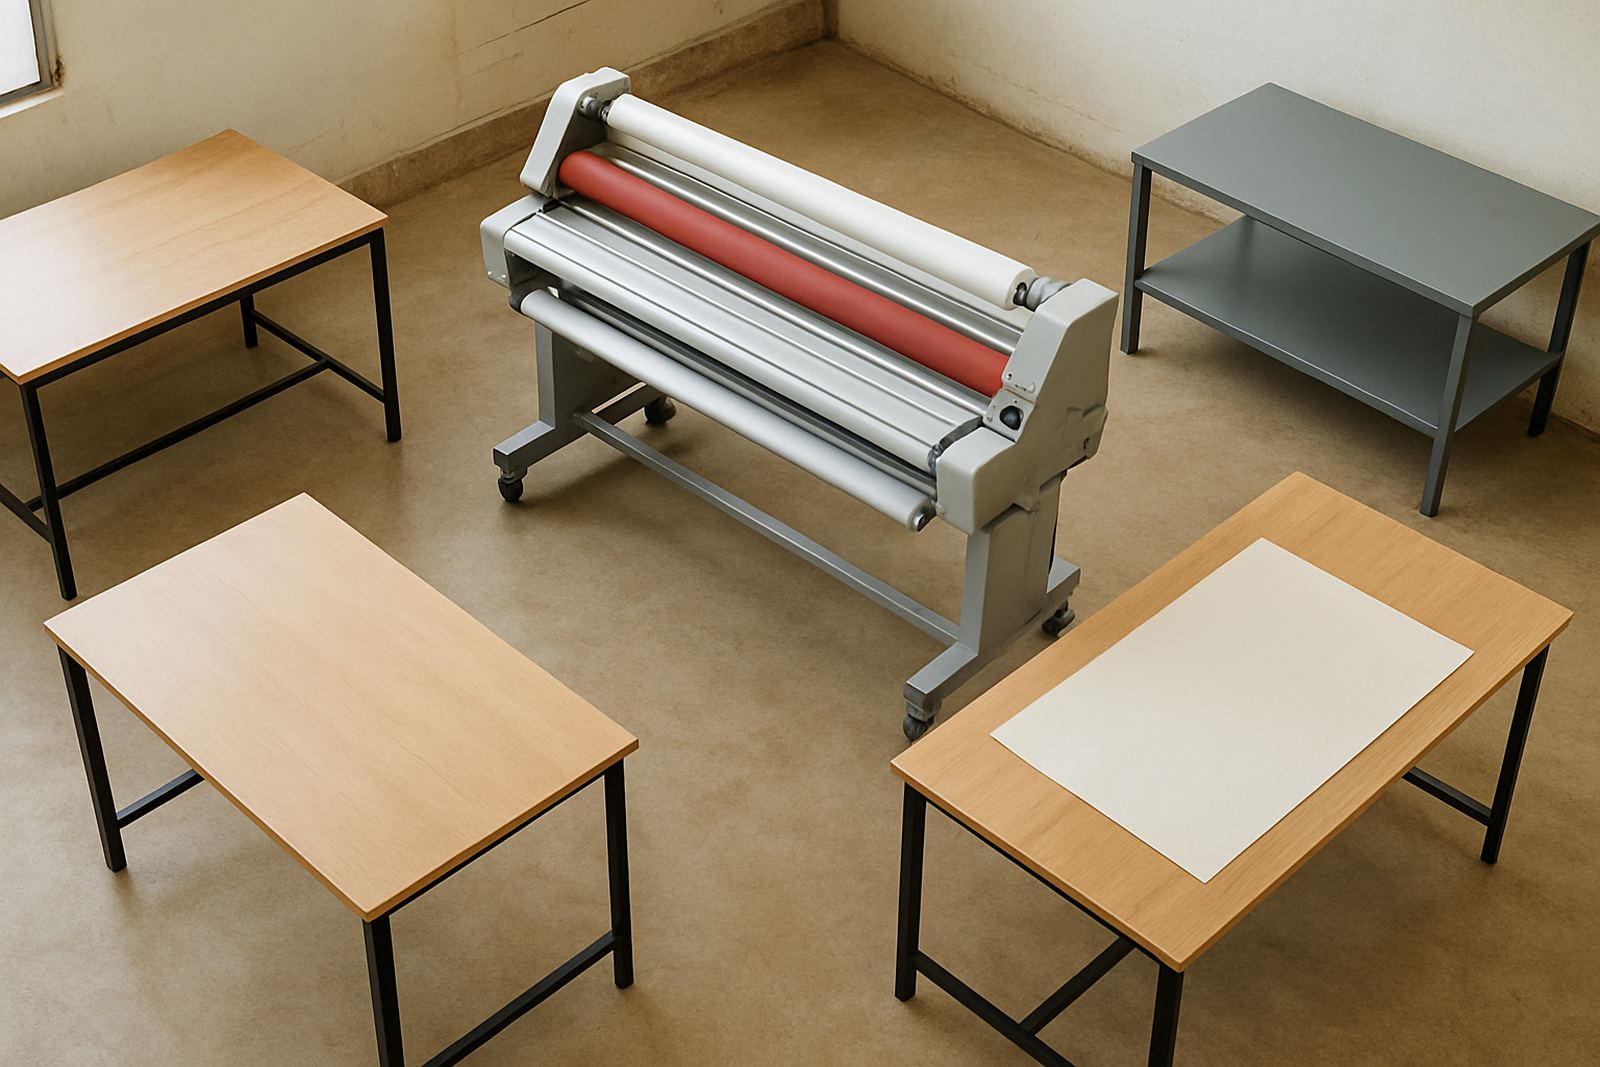
Machine placement should follow the way operators actually load, guide and collect jobs. Put the laminator where the operator can feed material in a straight line without twisting their body. Leave space at both ends for input and output, and make sure there is enough room to open covers, change rollers and service the unit. If you use both cold and hot roll machines, keep the most common machine closest to the prep table so staff are not crossing paths with unfinished work.
Try to avoid placing the laminator against a wall where the output must be folded or carried sideways. That extra handling often leads to edge damage or air bubbles. In Kya Sand and other busy industrial areas, a practical layout also helps maintenance teams access the machine quickly for roller cleaning, pressure calibration, drive system repairs or electrical fault finding. If a breakdown happens on site, clear access saves time and gets production moving again quicker.
- Leave service access on all sides specified by the machine layout.
- Keep a stable table or roller stand at the infeed side.
- Do not route power leads across main walkways.
- Place a rubbish bin close enough for backing sheets and trim waste.
Build a workflow that suits your job mix
Your layout should match the kind of work you do most often. A print shop producing signage for retail stores may need a faster path from print to lamination to cutting, while a design studio finishing artwork may need more inspection space and gentler handling. If you do vehicle graphics, exhibition boards or school branding, keep job types grouped so the team can stage similar work together. That makes it easier to set pressure, heat and feed speed correctly for each batch.
Use visual cues where possible. Floor tape, shelf labels and job cards reduce questions and help new staff work with confidence. For larger teams, assign one direction of movement through the room. Jobs should not cross back over themselves unless there is no other choice. A one-way flow sounds simple, but it often cuts small errors that cost time later, especially when the phone rings and someone gets pulled away mid-run.
When planning the room, think about the busiest hour rather than the quietest one. A layout that works for one operator on a slow Tuesday may fail on a Friday afternoon when two delivery loads arrive and three jobs are in progress. Good planning means the room still functions properly when it is under pressure.
Keep power, heat and climate under control
South African finishing rooms need practical attention to power and climate. If load-shedding affects your area, place sensitive equipment near protected circuits and make sure staff know the safe shutdown steps. Keep leads, adapters and backup power gear organised and off the floor. Heat-based work also needs steady ventilation, especially in enclosed spaces where warm air can build up and affect operator comfort or film handling.
Humidity, dust and temperature swings can change how rolls feed and how adhesive behaves. In coastal humidity, film may behave differently from the same stock in dry inland weather, so store materials in closed racks and avoid opening too many rolls at once. If your site sits in an older industrial building, check for uneven floors, weak sockets and poor lighting. These small issues can slow the whole workflow and create avoidable handling faults.
- Test backup power plans before peak season.
- Keep consumables in sealed storage away from heat and moisture.
- Use bright task lighting over the trim and inspection table.
- Schedule operator checks before long production runs.
Use a simple checklist before jobs move forward
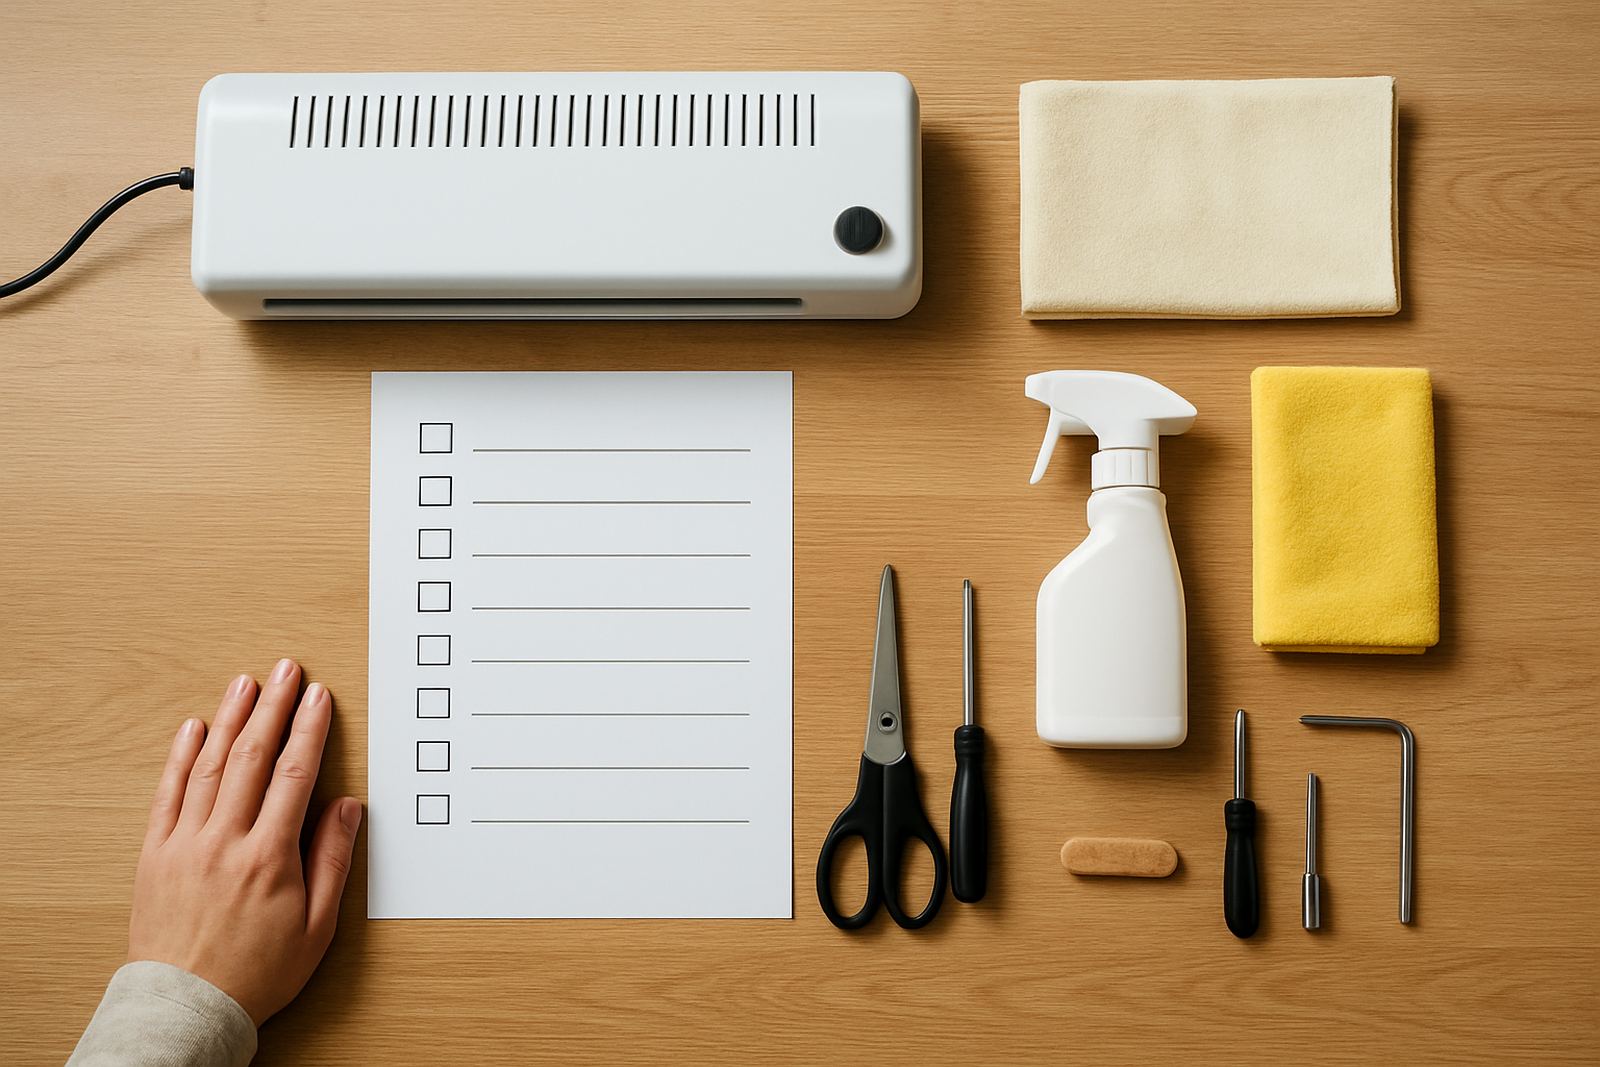
A checklist keeps the workflow steady, even when the team is busy. Before a job leaves one station, confirm the size, quantity, finish type and delivery method. Check the leading edge, film alignment, bubbles, lifting corners and contamination. If the job needs overnight storage, stack it flat and mark it clearly. If it is going out same day, pack it according to whether it is being couriered, collected or installed.
Keep a short daily checklist at the machine and a fuller weekly one for maintenance. That should include roller cleaning, pressure calibration, heat system checks, drive system inspections and a look at spare parts levels. If staff are unsure on setup or new media handling, operator refresher training can prevent repeat mistakes and wasted material. For businesses in Randburg, Sandton, Midrand, Pretoria and the East Rand, this kind of routine is often the difference between a smooth shift and a long catch-up session at closing time.
- Job ticket matches the work on the table.
- Media is clean, flat and cut to size.
- Machine settings suit the material being used.
- Finished work is cooled, trimmed and packed correctly.
- Area is clear before the next batch enters.