
Check the floor space before the machine arrives
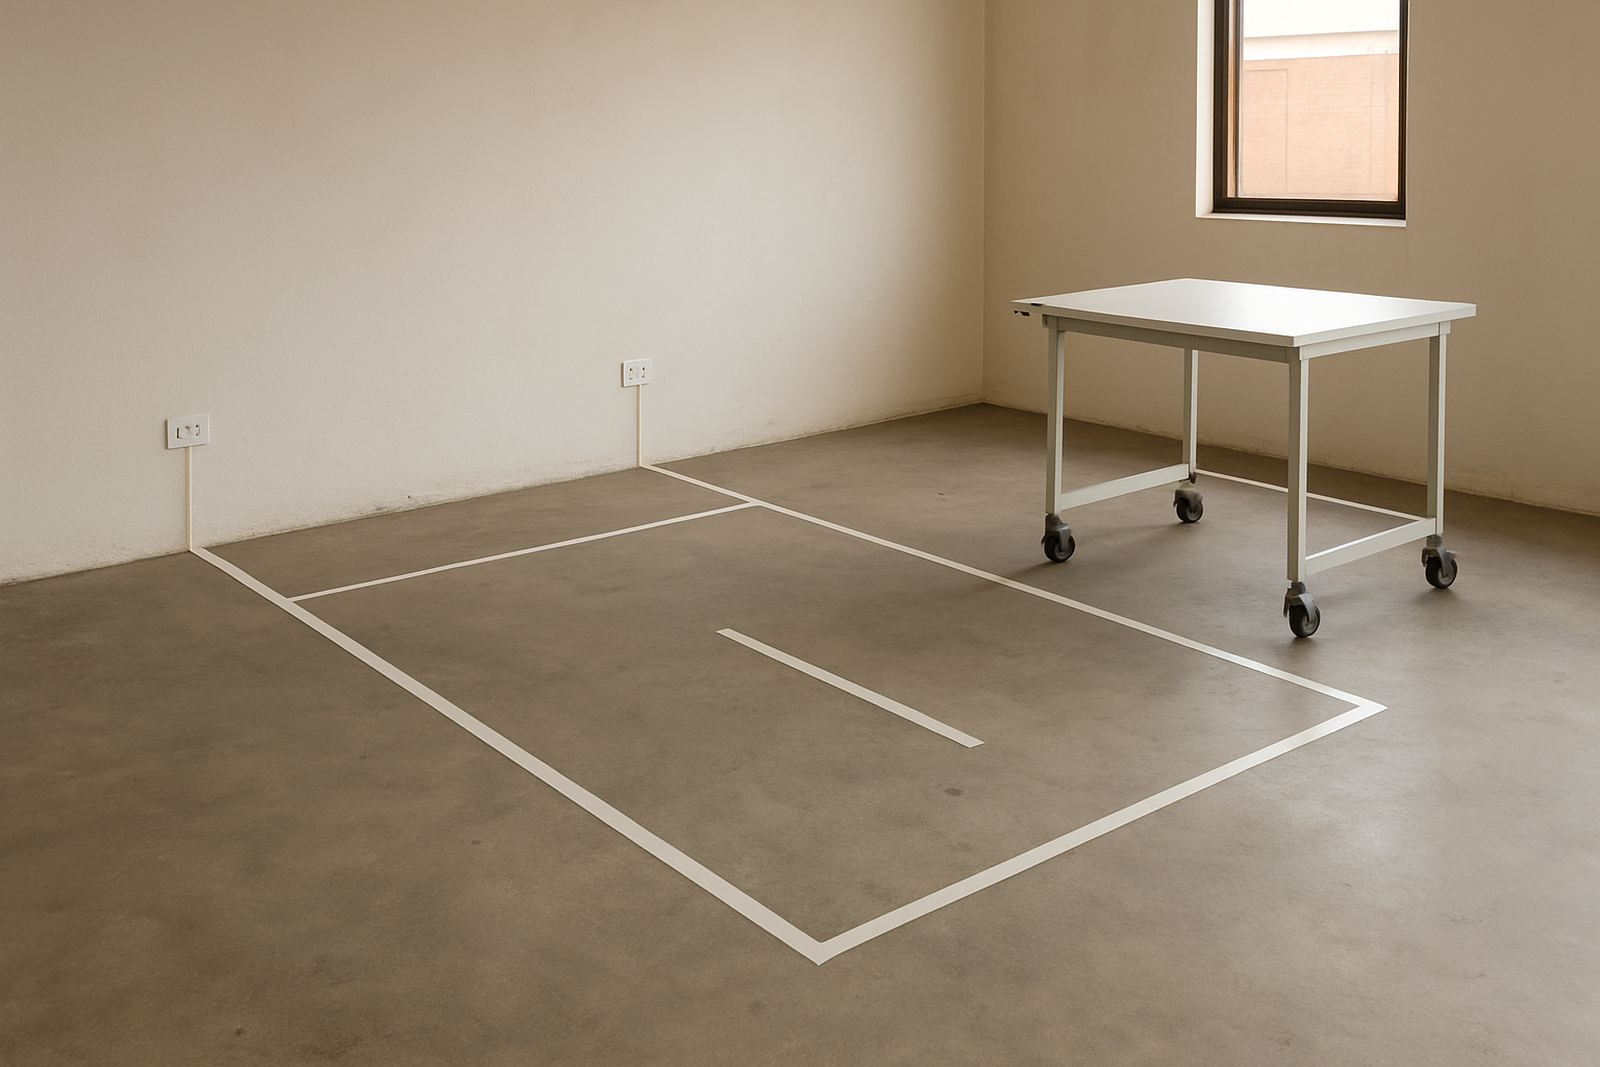
Start by measuring the exact footprint of the laminator and the space around it. Leave enough room on the feed side, the take-up side and at the rear for access during setup and servicing. In Kya Sand, Sandton or Midrand, many sites are tight on floor area, so it helps to mark the final position on the floor with tape before delivery. That way everyone knows where the machine will sit and where reels, artwork and finished work will move.
Also check the route from the loading bay or gate to the final spot. Look out for low door frames, narrow passages, steps and tight corners. If the machine must pass through a roller door or shared passage in Randburg or Pretoria, measure the height and width more than once. A few minutes with a tape measure can save a long delay on install day.
- Clear at least 1 metre around the operator side where possible
- Allow space for sheets, rolls and trimming tables
- Keep packing crates, offcuts and pallets out of the path
- Make sure the floor is level, clean and dry
Confirm power supply and load-shedding backup
Wide-format laminators need a stable power source, and the site should be checked before delivery. Confirm the voltage, plug type and circuit rating against the machine requirements. If your workshop runs on backup power during load-shedding, make sure the supply can handle the start-up load and any heating system on hot-roll models. A machine that trips a weak circuit will slow the whole shop down.
Ask an electrician to inspect the outlet position, earthing and isolation switch. The machine should have easy access to a safe power cut-off, especially in shared spaces or commercial units in East Rand and Johannesburg where other equipment may be running on the same board. If there are voltage dips, fit protection that suits the site rather than pushing the machine through unstable power.
- Check that the outlet is close enough to avoid loose extension leads
- Confirm backup power can support the machine during outages
- Label the isolator or breaker clearly for operators
- Keep cables away from walkways and wet cleaning areas
It is worth doing this early. A proper power check often sorts out problems before the technician arrives, and it keeps the installation moving without stoppages.
Set up the handling route for safe delivery
These machines are heavy and awkward to move, so the route from vehicle to final position must be planned. Let the delivery team know about gradients, kerbs, uneven paving and security gates. If your premises in Pretoria or Sandton have shared access, arrange parking close to the entrance and make sure the gate is open wide enough for trolleys or lifting gear.
Inside the building, protect floors and make sure the path is clear of cables, paper stacks and stock. Operators should not have to move other items while the team is carrying the machine. If stairs are involved, tell the supplier in advance because extra equipment or labour may be needed. This is one of those small details that can become a big problem if left until the day.
- Confirm parking and gate access with security or building management
- Remove loose rugs, boxes and anything that can snag wheels
- Have someone on site who knows the premises and key access points
- Keep a contact number available for the driver and install team
Prepare the work zone for first use
The laminator should be installed in a clean area with enough light for setup and operator checks. Dust, sanding residue and paper offcuts can affect rollers and finished work, so sweep and mop the area before delivery. In coastal or humid conditions, keep the room as dry as possible and avoid storing rolls against damp walls. That helps protect both media and finished pieces.
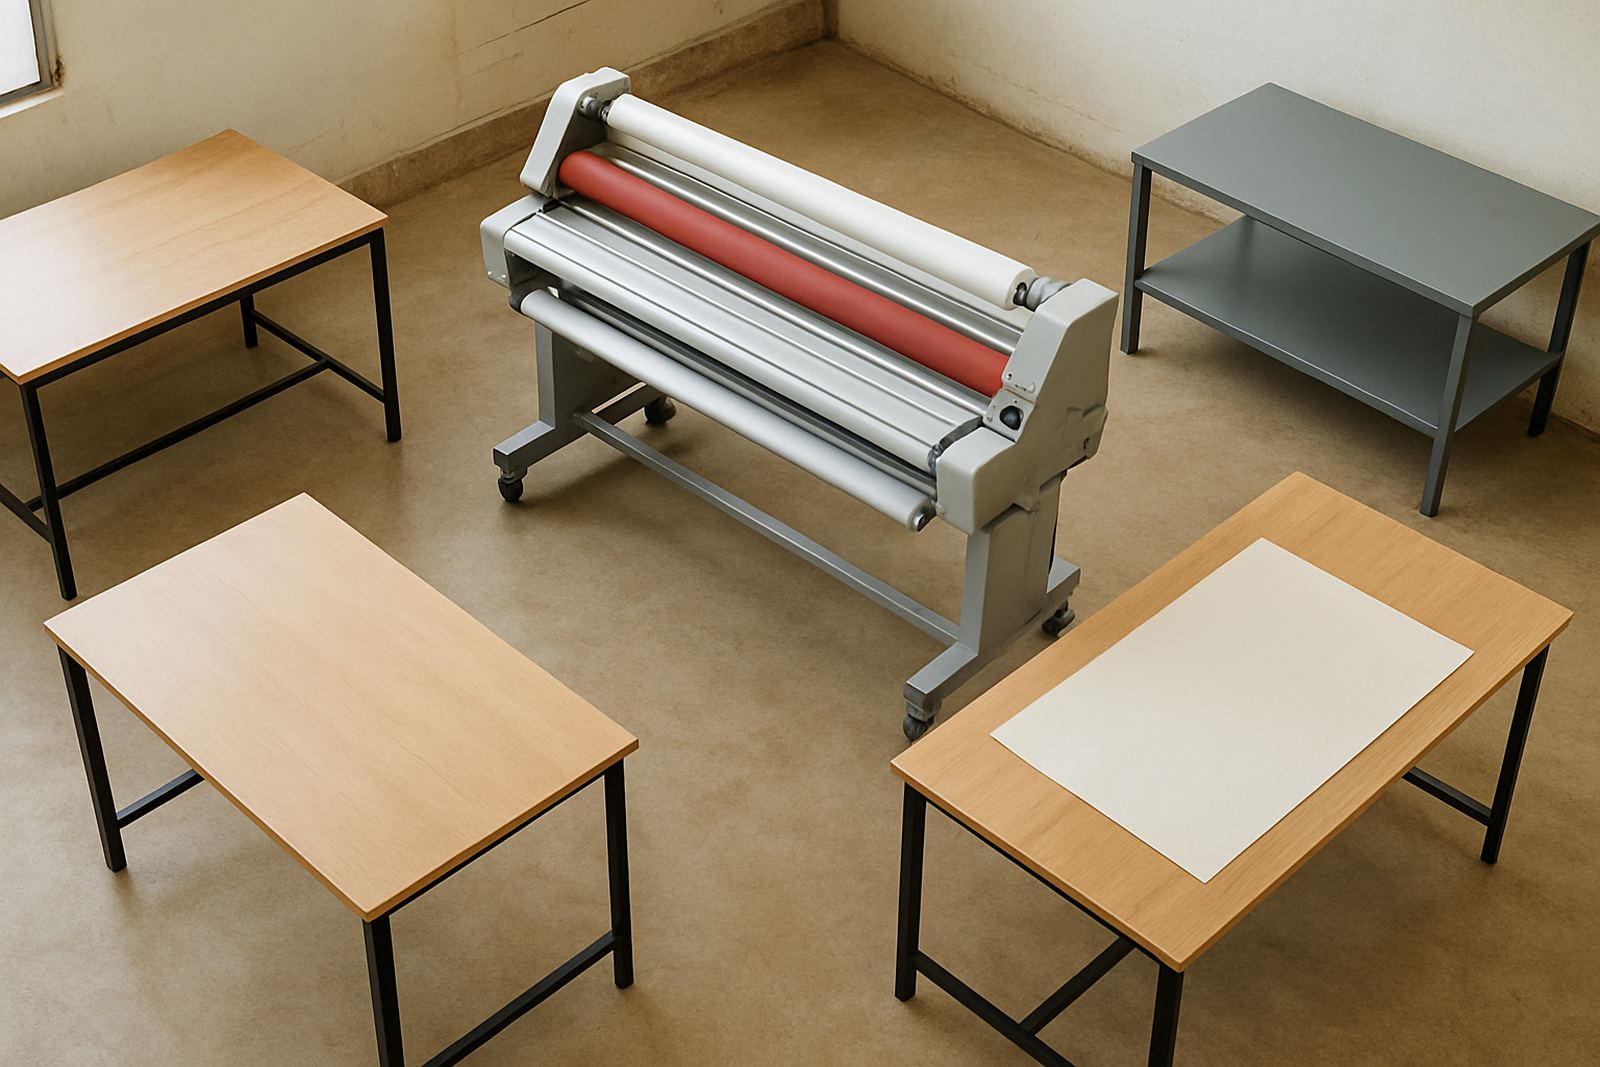
Think about how the operator will move around the machine once it is running. There should be a clear place for the input material, a landing area for output and a safe spot for tools, cleaners and spare film. If the shop uses multiple finishing stations, set the laminator so that the flow does not cross with cutting, packing or dispatch. Small layout changes can make daily production much easier.
Assign an operator and decide who signs off
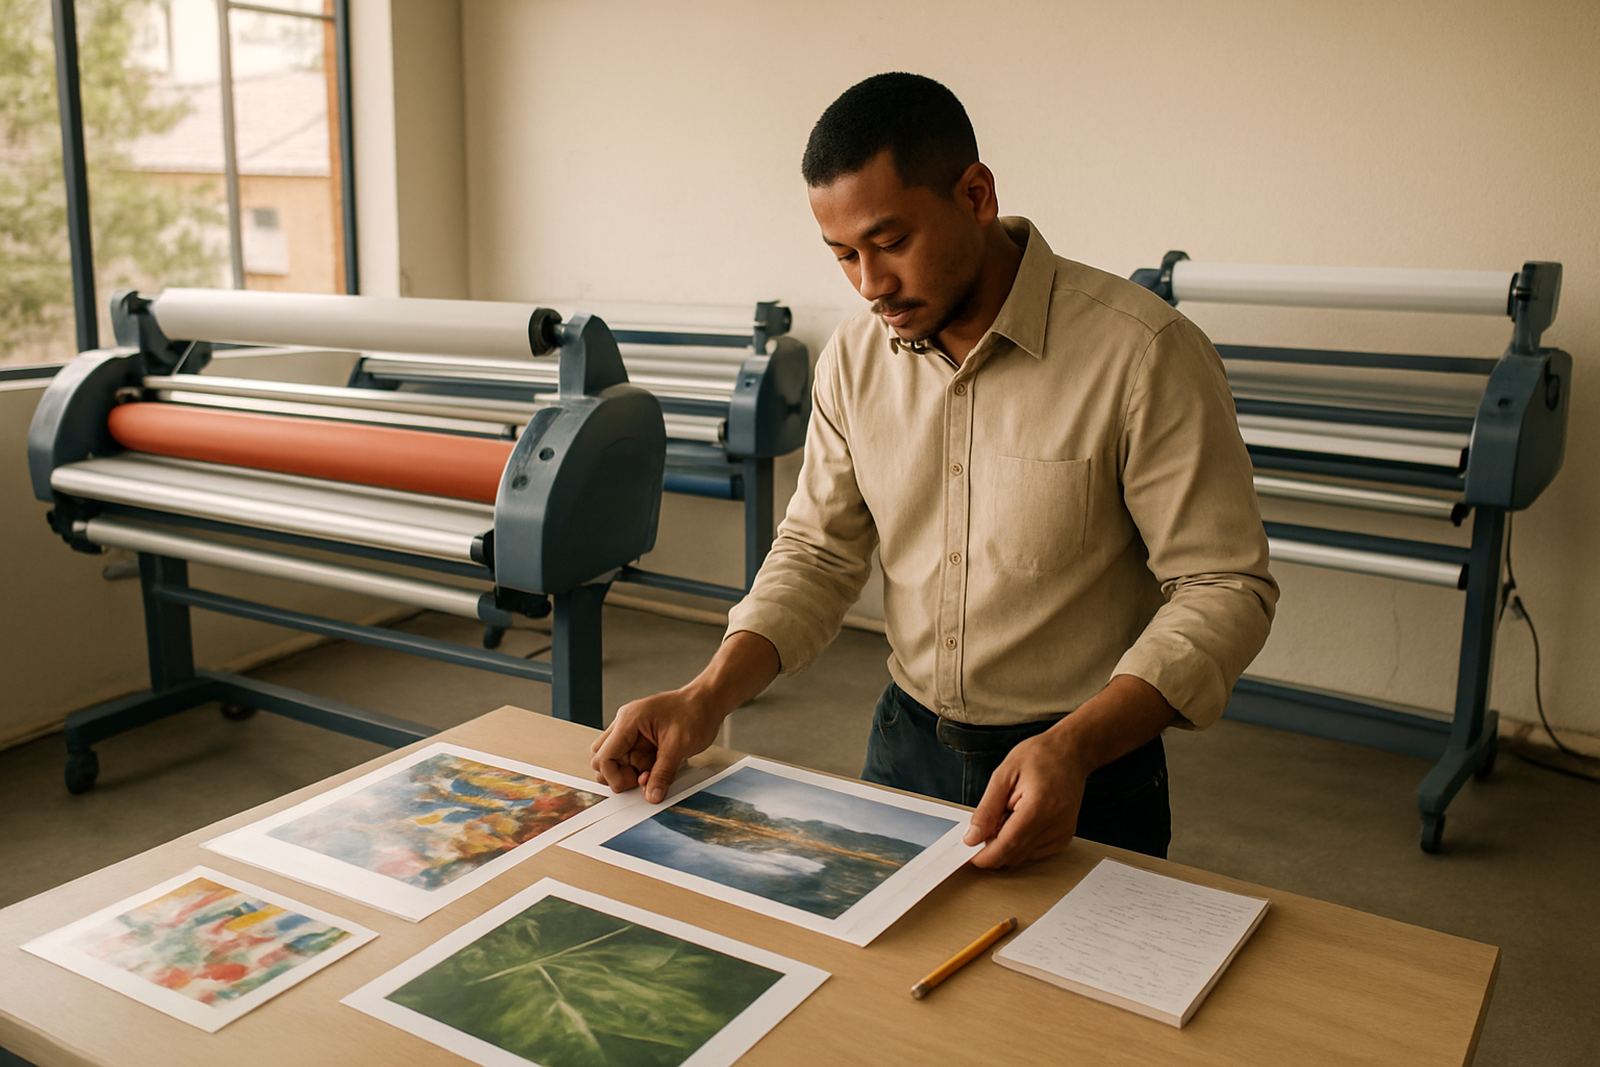
Before installation, choose the person who will run the machine and the person who will sign off on handover. That keeps training focused and avoids confusion when questions come up later. The operator should know the type of work to be laminated, the usual sheet sizes and any local site rules, such as access hours or noise limits in shared industrial buildings.
It also helps to have the customer support lead, production manager or owner present during the final check. This lets everyone confirm the machine position, power point, safety labels and any special settings. If the site has more than one shift, make sure the second team gets the same instructions, not just a quick handover from memory.
- Nominate one primary operator and one backup operator
- Share the usual sheet sizes and material types in advance
- Keep safety notes and cleaning steps in one folder near the machine
- Record the install date and any service contacts for future use
Use a simple pre-install checklist
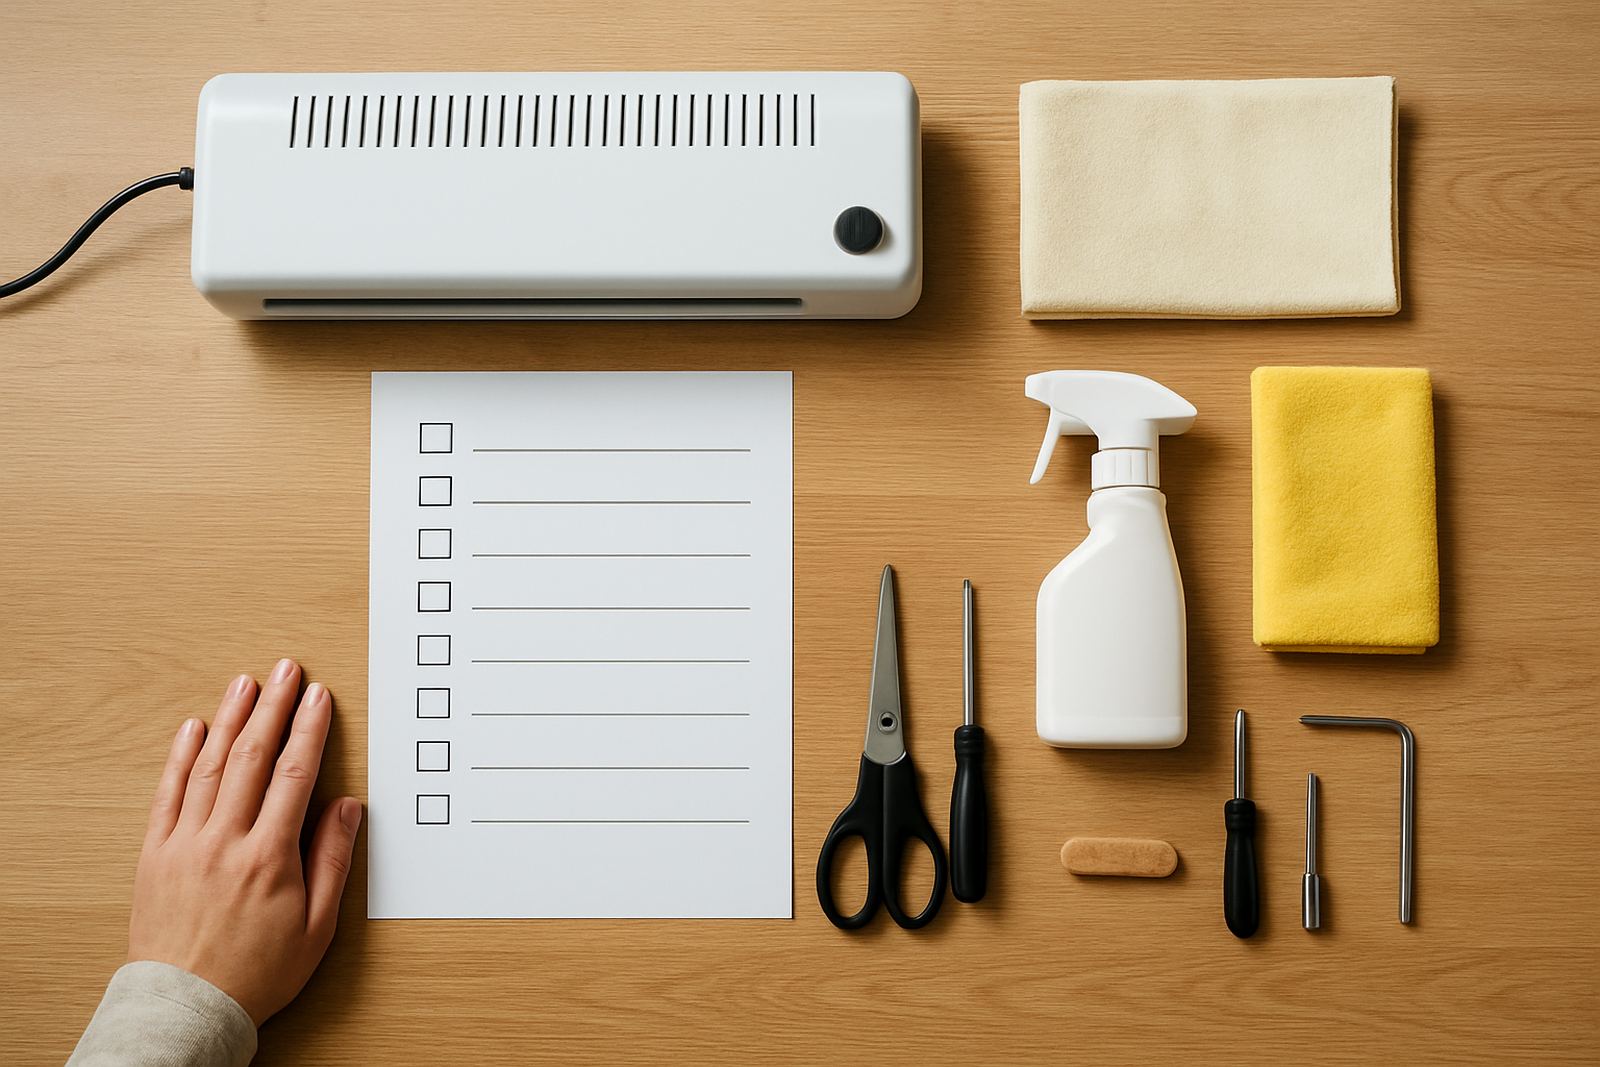
A short checklist on the day of delivery keeps everyone aligned. It is especially useful for print shops and design studios that are busy with client work and cannot lose half a day to sorting out basics. Tick off the main items before the machine comes off the vehicle, then again before the first test run.
If anything is not ready, say so early. A missing power point, blocked access or unfinished floor can be fixed more easily before the machine is in place than after. In our experience, a clear checklist saves time for sites across Kya Sand, Randburg, Midrand and nationwide installs too.
- Floor space measured and marked
- Power point checked and tested
- Access route clear from gate to final position
- Operators and decision-maker on site
- Cleaning materials, tools and manuals ready
- Backup plan in place for load-shedding or electrical checks
Once these basics are in place, installation is far smoother and your team can move straight into training, test runs and live production without fuss.