
How A Hot Laminator Bonds Film To Print
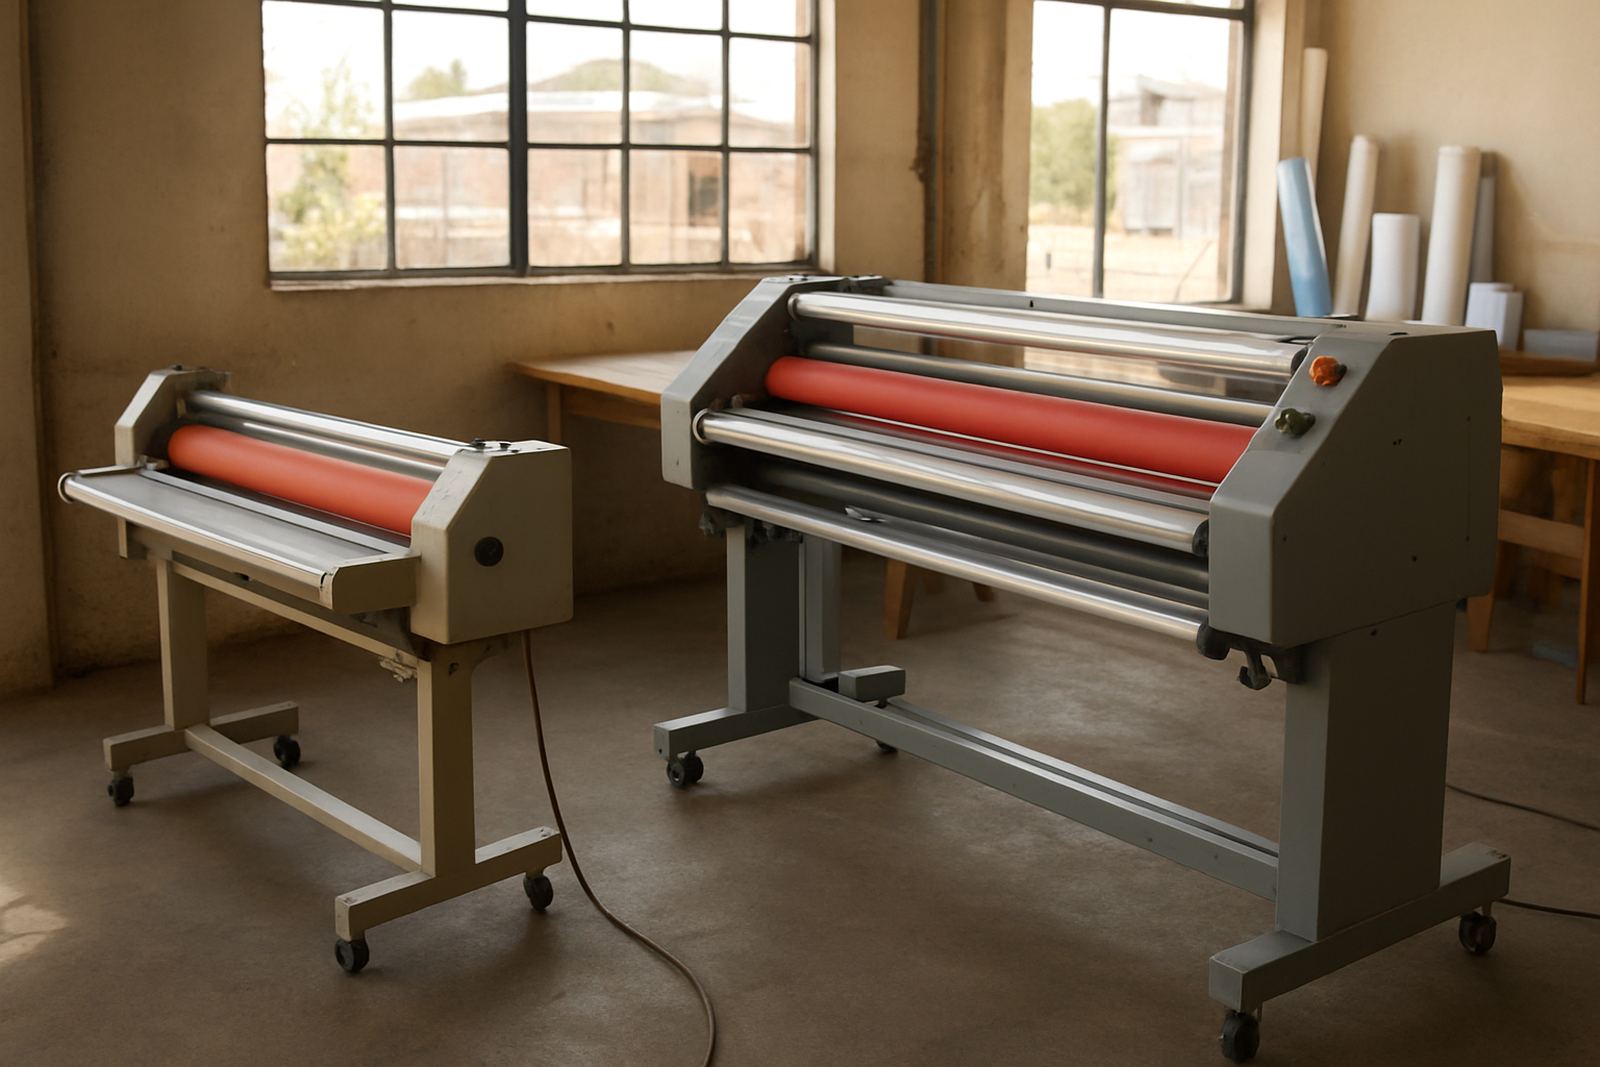
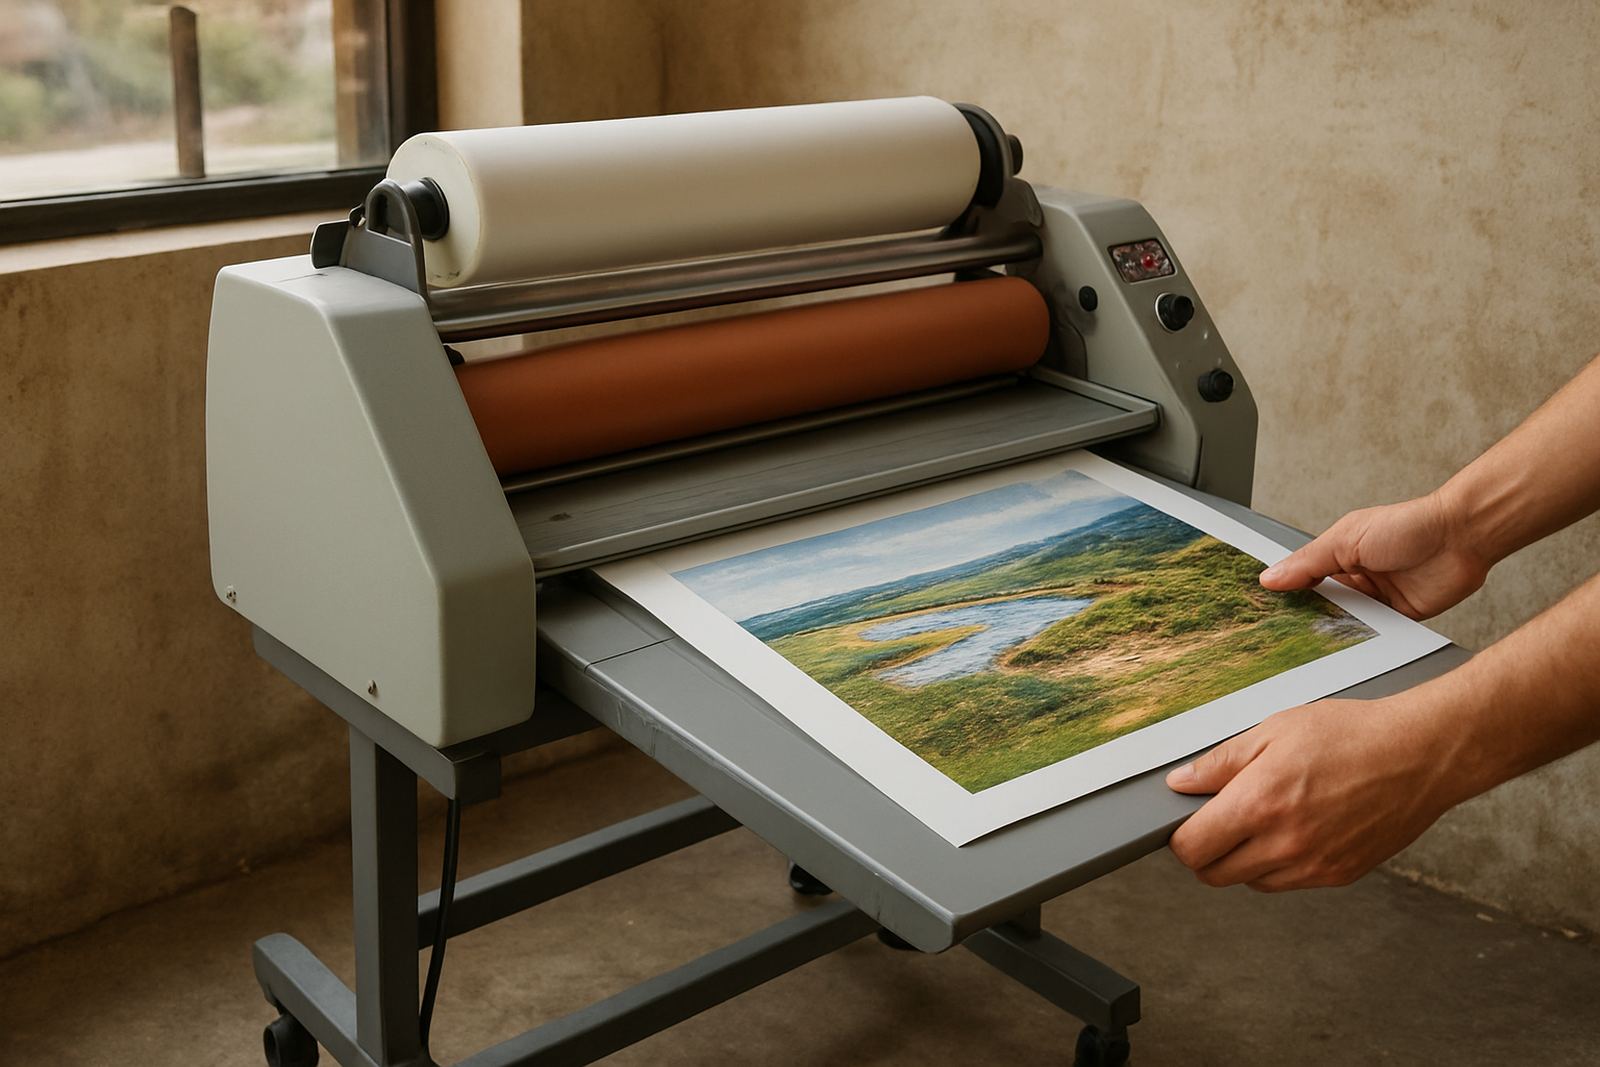
A hot laminator uses heat, pressure and the right film pairing to bond a clear layer onto printed sheets, boards or artwork. The heated rollers soften the adhesive in the film so it grips the surface more evenly, which helps reduce silvering, edge lift and cloudy patches. For shops in Johannesburg, Pretoria and the East Rand, that matters when you are finishing short-run retail graphics, training material or presentation pieces that need to look tidy before collection.
Heat is only one part of the process. Roller pressure and feed speed must match the material thickness, because too much pressure can mark soft prints while too little leaves weak adhesion. On heavier stock, the operator should also allow time for the rollers to stabilise at temperature before starting a run. That small wait saves rejects later on.
- Best for: printed graphics, posters, artwork and mounted sheets
- Needs: steady heat, clean rollers and matched film
- Watch for: curling, bubbles, soft toner marks and uneven gloss
When Hot Lamination Makes More Sense Than Cold
Hot lamination is often chosen where a stronger bond is needed or where the printed piece will be handled often. It suits work that must survive frequent touch, light moisture, cleaning cloths and transport between sites. For print shops serving Sandton offices, Pretoria schools or Midrand event clients, it can mean fewer returns for peeling edges and a neater finish on items that must go out same day.
Cold lamination still has a place, especially on heat sensitive prints and certain vinyls, but hot systems are useful when speed and adhesion matter more than avoiding heat entirely. If you produce menus, maps, signage inserts or presentation boards, the better question is not hot or cold in general but which process suits the substrate and the final use. That decision saves film and time.
- Choose hot when the print can take heat and needs a firmer bond
- Choose cold when the material may warp, shrink or mark under heat
- Check if the job needs gloss, matt or anti glare finish before loading film
A Practical Setup Routine Before You Start Laminating
A reliable routine makes hot lamination much easier to control. Start by checking the roller surface for dust, adhesive build-up or small cuts. Then confirm the machine is level, because a slight tilt can affect feed alignment on wider sheets. In Kya Sand and other industrial areas around Johannesburg, airborne dust is common, so cleaning before each shift is worth the few minutes it takes.
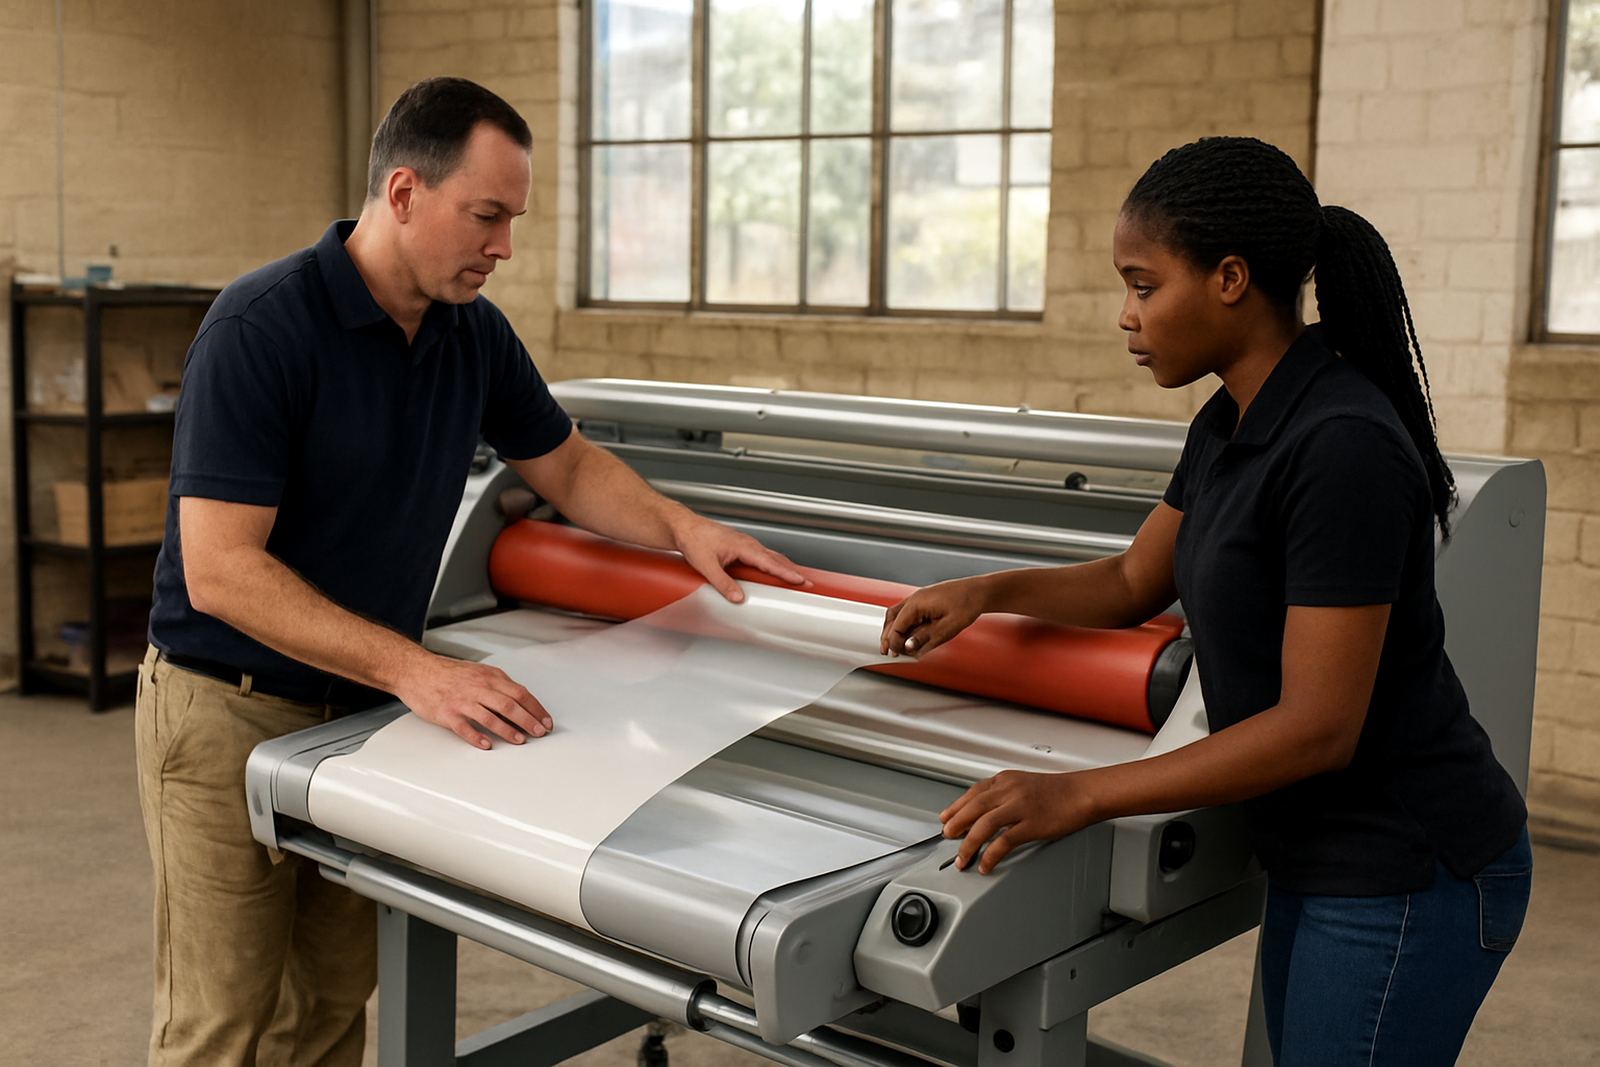
Next confirm temperature, pressure and speed settings for the film thickness you are using. Keep a test print close by and run it first if you have changed material. Once the sheet is feeding well, watch the edges as they pass through the rollers. If the laminate is drifting or the print looks stretched, stop and correct the setup rather than forcing the batch through.
- Daily checks: roller cleaning, temperature display, pressure setting, feed alignment
- Job checks: print dry time, film width, leading edge condition, output stack space
- Environment checks: dust, humidity, power stability and room ventilation
Film Choice, Finish And Production Considerations
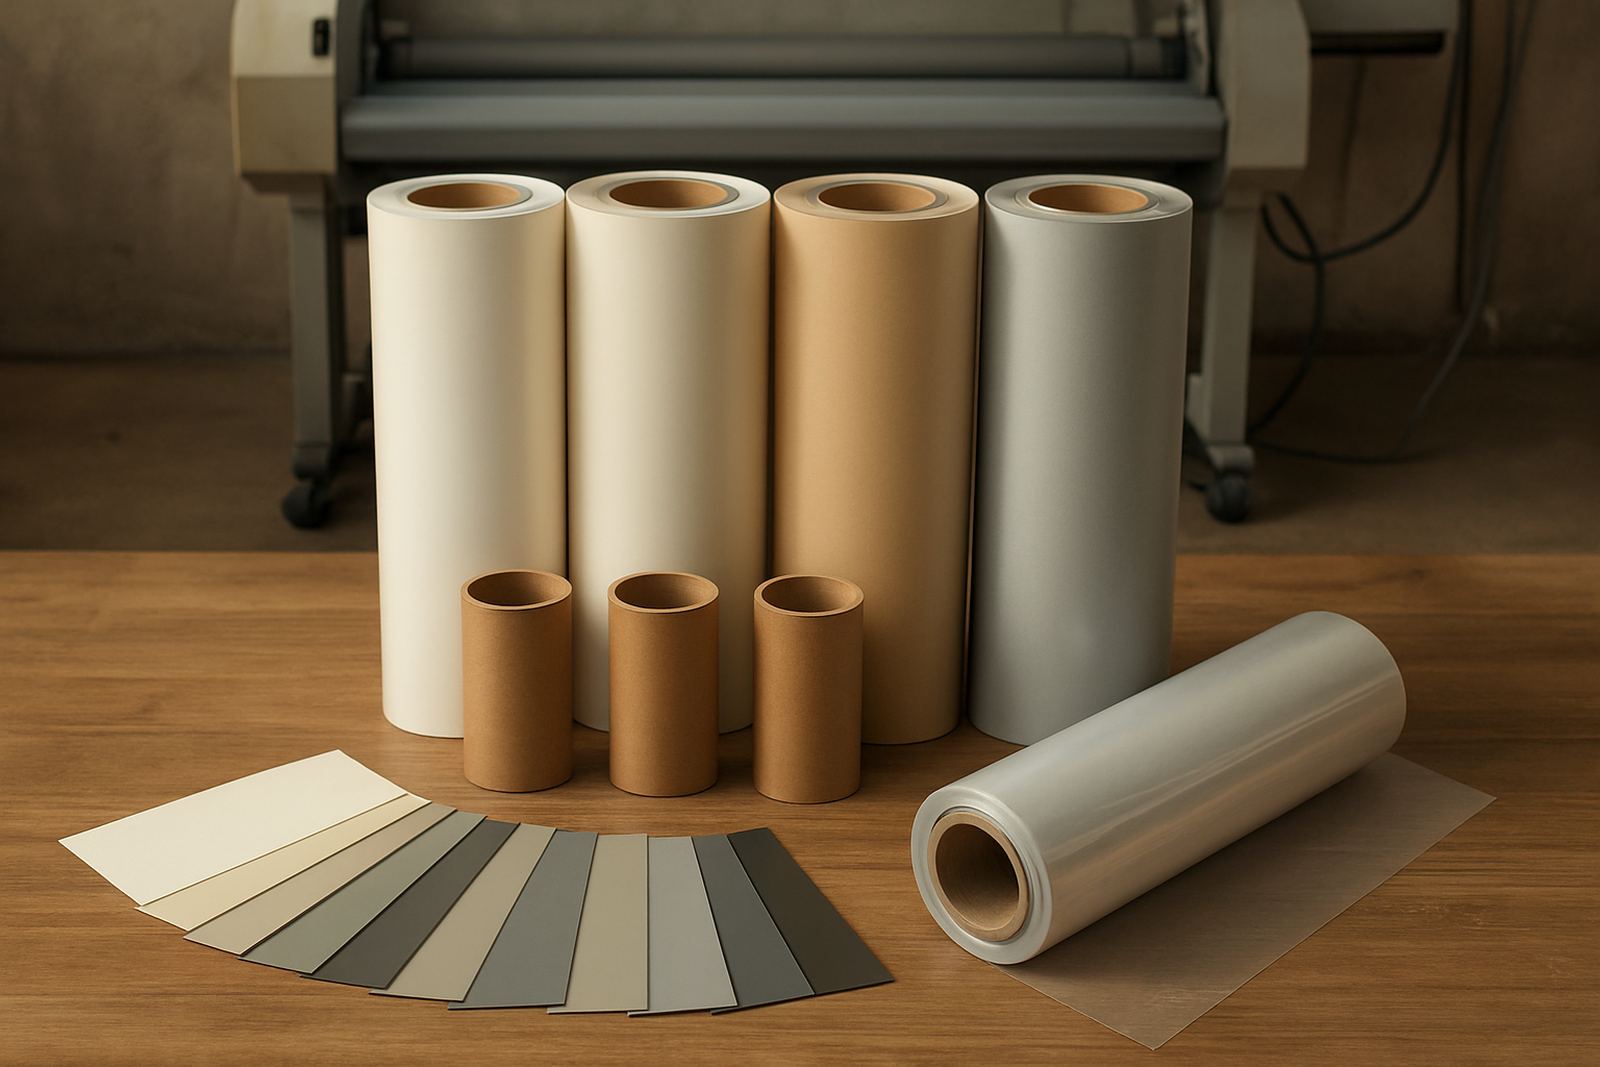
The film you choose affects both appearance and performance. Gloss film gives a sharper look on colour prints and artwork, while matt film reduces glare for reading and indoor display. Some jobs need a harder wearing surface for boards or frequently handled sheets, and others need a softer presentation finish for fine art reproductions. Match the film to the print method, the ink or toner type, and the client’s use of the finished item.
Production planning matters as much as the film itself. If you are finishing for a client in Sandton or Midrand with a tight handover, stack the prints flat before lamination so they do not curl at the leading edge. Keep room humidity under control where possible, because coastal moisture is not the only issue in South Africa and even inland workshops can see stock absorb dampness after rain. That can affect feed and adhesion. One small miss on storage can create a lot of rework later.
- Gloss: stronger colour pop, better for photo work and display pieces
- Matt: lower glare, better for notices, maps and reading material
- Storage: keep film sealed, upright and away from heat and direct sun
Troubleshooting Common Hot Lamination Problems
Most faults show up in the first few sheets, which is why close observation helps. If you see bubbles, the film may be too cool, the surface may be dusty or the print may still hold moisture. If edges lift, pressure may be uneven or the film width may be too narrow for the sheet. If the output looks cloudy or silvered, the bond may not be forming fully and the speed setting may need adjustment.
Electrical problems also deserve attention, especially in buildings affected by load-shedding and unstable supply. A laminator that trips, heats slowly or loses temperature may have a fault in the heater circuit, control panel or drive system. Do not ignore odd noises, burning smells or repeated jams. Those signs usually get worse and can lead to a longer stop than planned. A quick inspection can save a lot of hassle.
- Bubbles: reduce speed, confirm heat, clean the sheet surface
- Wrinkles: check feed alignment and pressure balance
- Weak bond: test film type, temperature and dwell time
Maintenance Steps That Keep Production Moving
Routine care is part of keeping a hot laminator dependable. Clean the rollers regularly with the correct method for the machine, and remove adhesive build-up before it hardens. Check pressure calibration, heat system performance and drive operation on a schedule rather than waiting for a failure. In busy print shops, that one habit often decides whether a machine keeps earning or sits idle during a rush.
Keep spare parts and service records close at hand. If you run work for clients across Randburg, Pretoria or the East Rand, a breakdown can affect more than one delivery date. Train operators on warm-up times, safe film loading and how to spot early wear. A short refresher once in a while is better than replacing a roller after avoidable damage.
- Weekly: clean rollers, inspect feed path, check for adhesive residue
- Monthly: test pressure, heat accuracy and drive smoothness
- After service: run a sample sheet and confirm finish quality before production