
Why cure time matters before the first roll goes down
Cure time is the pause between printing and laminating, and it matters more than many shops realise. Fresh ink may still be releasing solvent or water, and if you seal it too early the laminating film can trap that energy under the surface. The result is usually dull patches, silvering, poor bond strength or small bubbles that only show up after the job has left the shop.
This is especially relevant on wide-format work where prints are handled, trimmed and rolled before laminating. In places like Kya Sand, Randburg and Midrand, a job can move from printer to finishing table quickly when the day is busy. That speed is useful, but it should not force the finishing stage. A short wait can save a reprint and keep the final piece looking clean.
- Water-based inks often need more drying time than expected in cooler rooms.
- Solvent and eco-solvent prints may feel dry on the surface while still curing underneath.
- UV prints can be handled sooner, but heavy coverage and dark solids still benefit from a short rest.
- Pressure-sensitive laminates need a stable, dry surface to grab properly.
What happens when a print is laminated too soon
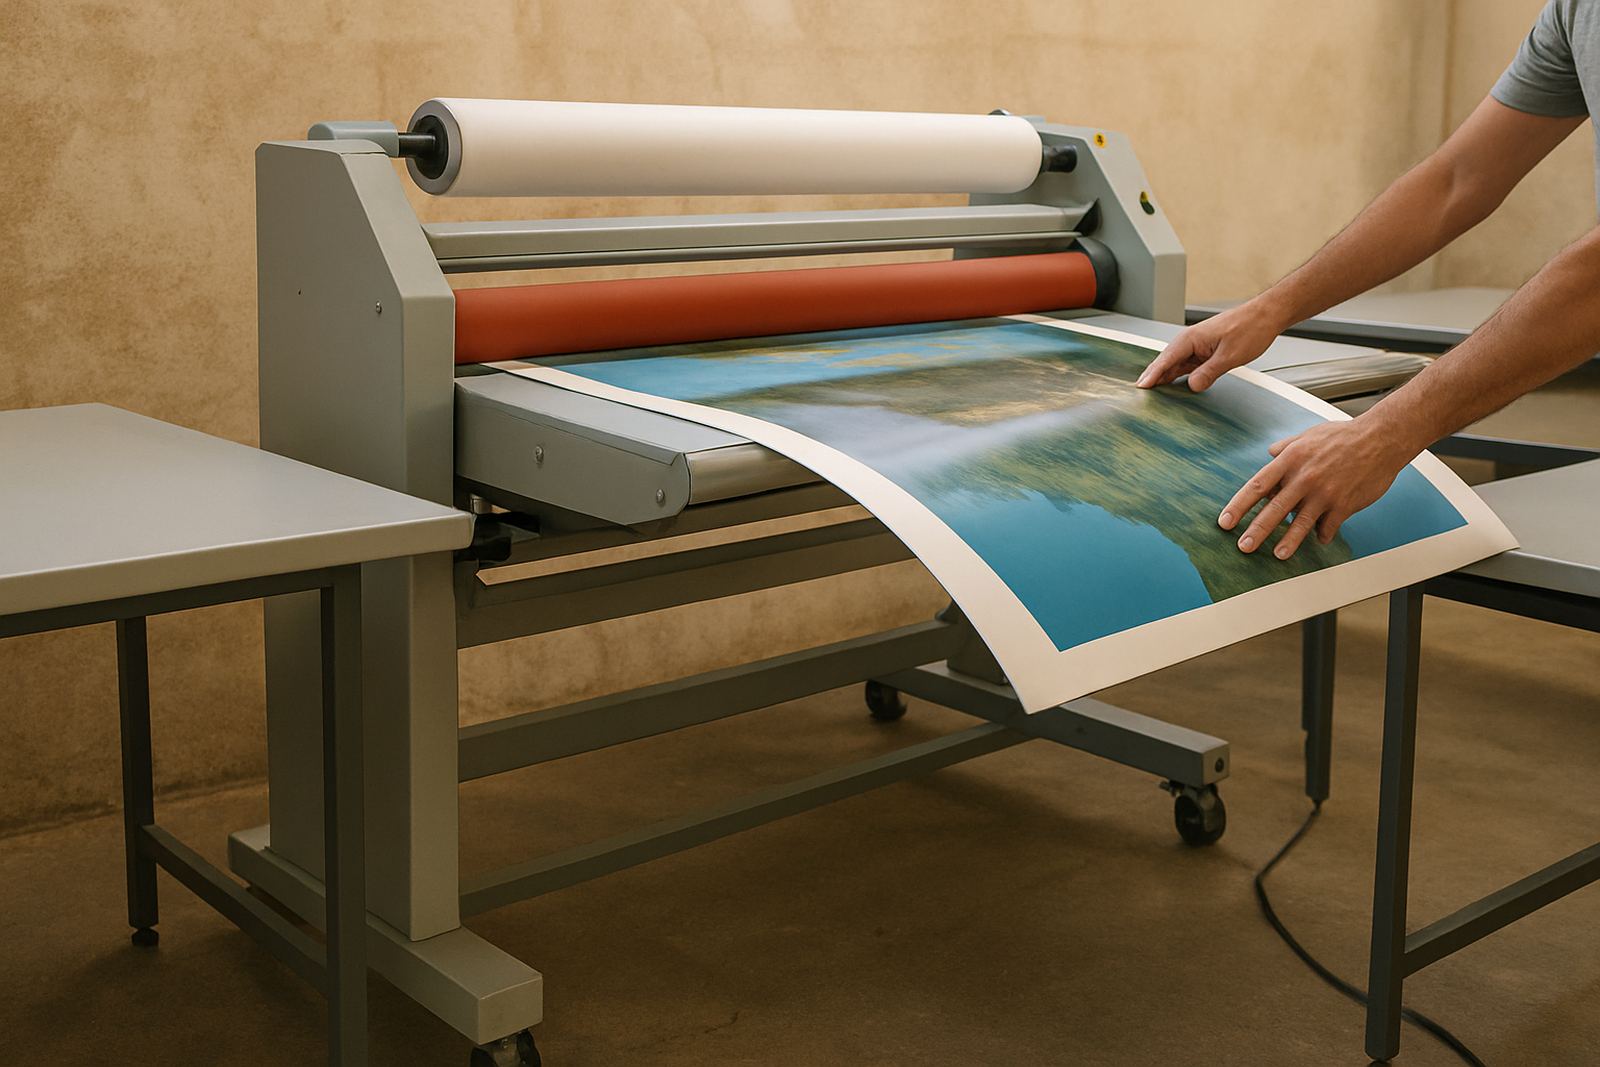
When a print has not cured enough, the laminate can trap tiny amounts of gas or moisture as the roll pressure goes on. That is when you see silvering, which looks like a cloudy sheen under the film. You may also notice the laminate lifting at the edges, especially on heavier coverage or on media that still has a little movement in it.
In hot weather, the problem can get worse because prints may seem dry on the outside but still shift once they are stacked or rolled. In coastal areas humidity slows the process too, although Johannesburg shops usually deal more with temperature swings, dust and rushed turnaround. A print that looked fine at midday can behave differently by late afternoon if it was moved from a warm printer room into a cooler finishing area.
- Silvering shows up as a grey or milky cast under the laminate.
- Adhesion issues can start at corners and trim edges first.
- Uncured ink can sometimes cause rippling or faint texture marks.
- Heat-assisted laminating without enough cure time may lock in defects.
How long should you wait before laminating
There is no single cure time that suits every print, media type and ink set. A small poster on coated vinyl may need far less time than a full vehicle graphic, exhibition panel or art print with deep blacks. The right answer depends on the ink chemistry, the media coating, room temperature and airflow around the print.
As a practical rule, shops should test their own work rather than guess. Start by checking surface dryness, then confirm with a small sample lamination before committing the full run. If the print is still giving off odour, feels cool and damp, or marks easily when rubbed, it is not ready. Waiting a few more hours can make a clear difference, and sometimes overnight is the safer call.
- Short runs and lighter coverage may be ready sooner than large solid areas.
- Thicker media often needs extra time because moisture moves through it more slowly.
- Heat and airflow help, but direct fan blasts can cause edge curl on some materials.
- Keep a simple shop log of media type, ink type and wait time that worked best.
Signs a print is ready for the laminator
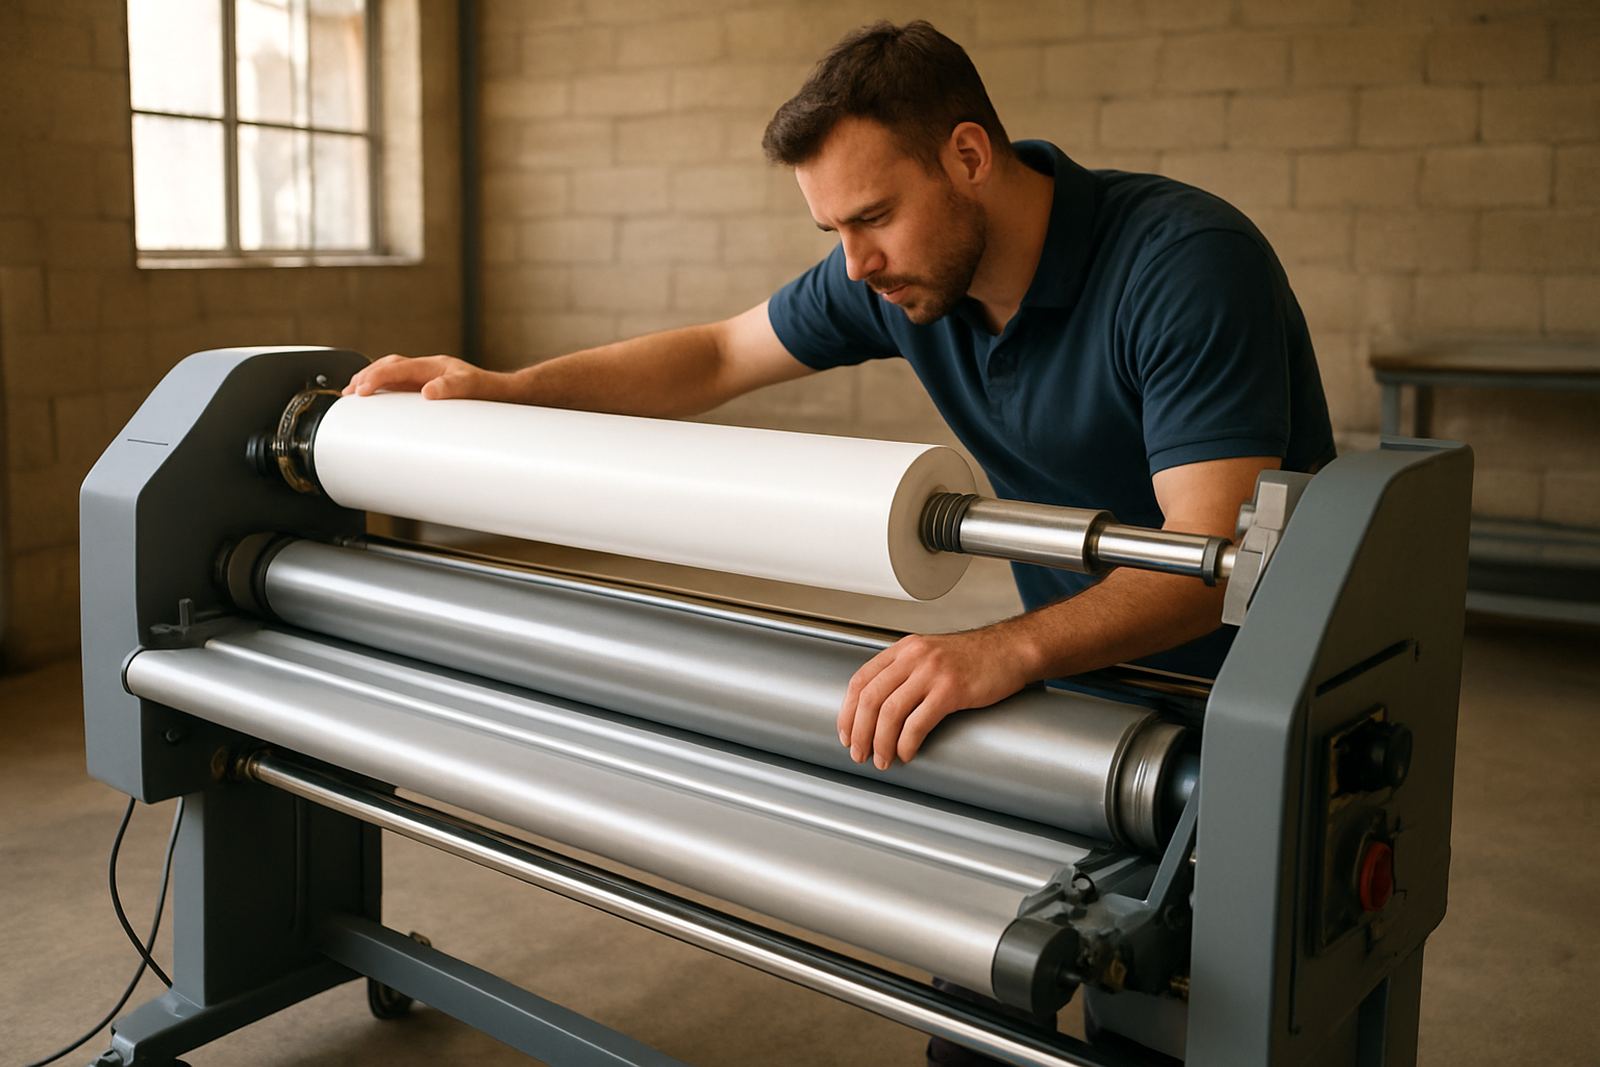
The best finishing rooms do not rely on guesswork. They check the print, the room and the job spec before loading the roll. A ready print should feel stable, not tacky, and it should lay flat when unrolled. If the sheet wants to curl back hard or the surface still feels soft under a fingernail, give it more time.
On busy production days a quick inspection routine helps a lot. For example, a print shop in Kya Sand might finish signage for Sandton in the morning and artwork for Pretoria in the afternoon. If the team builds in a standard check before laminating, the result is more consistent across all those jobs. That routine is worth far more than rushing a sheet because a courier is waiting.
- Wipe a small hidden corner with a clean cloth to check for transfer.
- Look for even sheen across the print surface.
- Check for edge curl, especially on long panels.
- Make sure cut marks and trimming do not reveal soft or wet areas.
The local reality: dust, load-shedding and fast turnarounds
South African print rooms work under practical pressures. Load-shedding can interrupt printing and finishing flow, while dust from industrial areas can settle on a print that is left open too long. If a job has to wait, it should wait in a clean area, protected from debris and stacked in a way that does not create pressure marks.
Good cure time management also helps during interruptions. If power comes back after a break, a print might not be ready to laminate immediately, even if the machine is. That is one reason experienced operators do not treat the laminator as the next automatic step. They check the work, then decide whether to proceed or leave it for a bit longer. Small habits like that protect margins and reduce wastage.
For shops serving Randburg, Sandton, Midrand, Pretoria and the East Rand, the best approach is to build cure time into the workflow from the start. That means scheduling finishing with some breathing room, not at the very last minute. It also helps when a team has on-site support, pre-purchase inspections and operator refresher training available from a supplier who understands the day to day pressures.
A simple cure-time routine that works in the shop
A practical routine is easier to follow than a vague instruction to wait longer. The aim is not to slow production for the sake of it, but to reduce avoidable faults and rework. Start by identifying the media and ink type used most often, then record how long each one needs before lamination. Over time the shop builds its own working guide.
It helps to keep the finishing table separate from the printer output area if possible. That reduces contamination and gives prints a calmer drying environment. When the team is trained to spot early signs of uncured work, the process becomes more reliable and less dependent on one person’s judgement. A consistent routine also supports better pressure calibration, roller cleaning and heat system checks on the laminator itself.
- Label jobs with print time and intended lamination time.
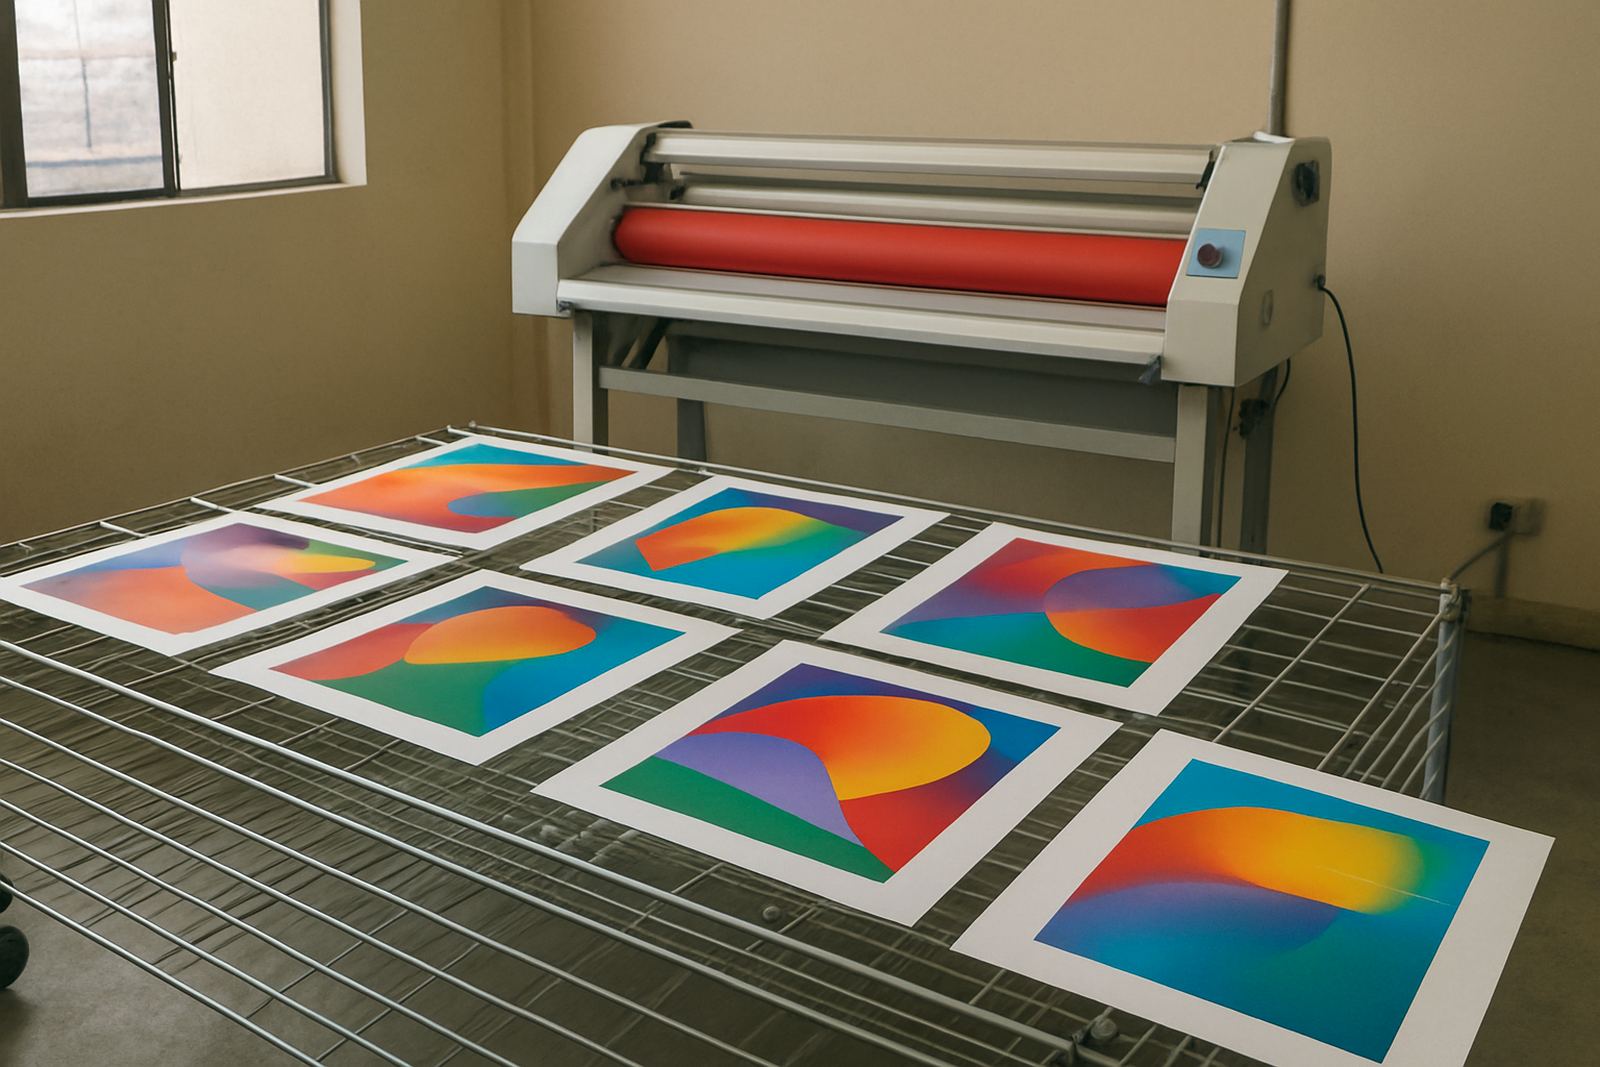
- Store finished prints flat or gently rolled, depending on the media.
- Use clean gloves when handling sensitive artwork or graphics.
- Do a test strip before laminating the full sheet.
For print shops and artists alike, the benefit is straightforward: better clarity, stronger adhesion and a finish that looks professional from the first glance. A few extra hours can save a job from going cloudy later, and that is usually worth it.