
Start with the board, not the glue
Most mounting faults start before the first layer is applied. The board has to suit the job, the environment and the handling method. In Johannesburg, where a print shop may move work from a cool storeroom into a warmer production area, even a few degrees can change how a panel sits once it is laid down. If the substrate is bowed, dusty or cut out of square, the finished panel will fight you from the start.
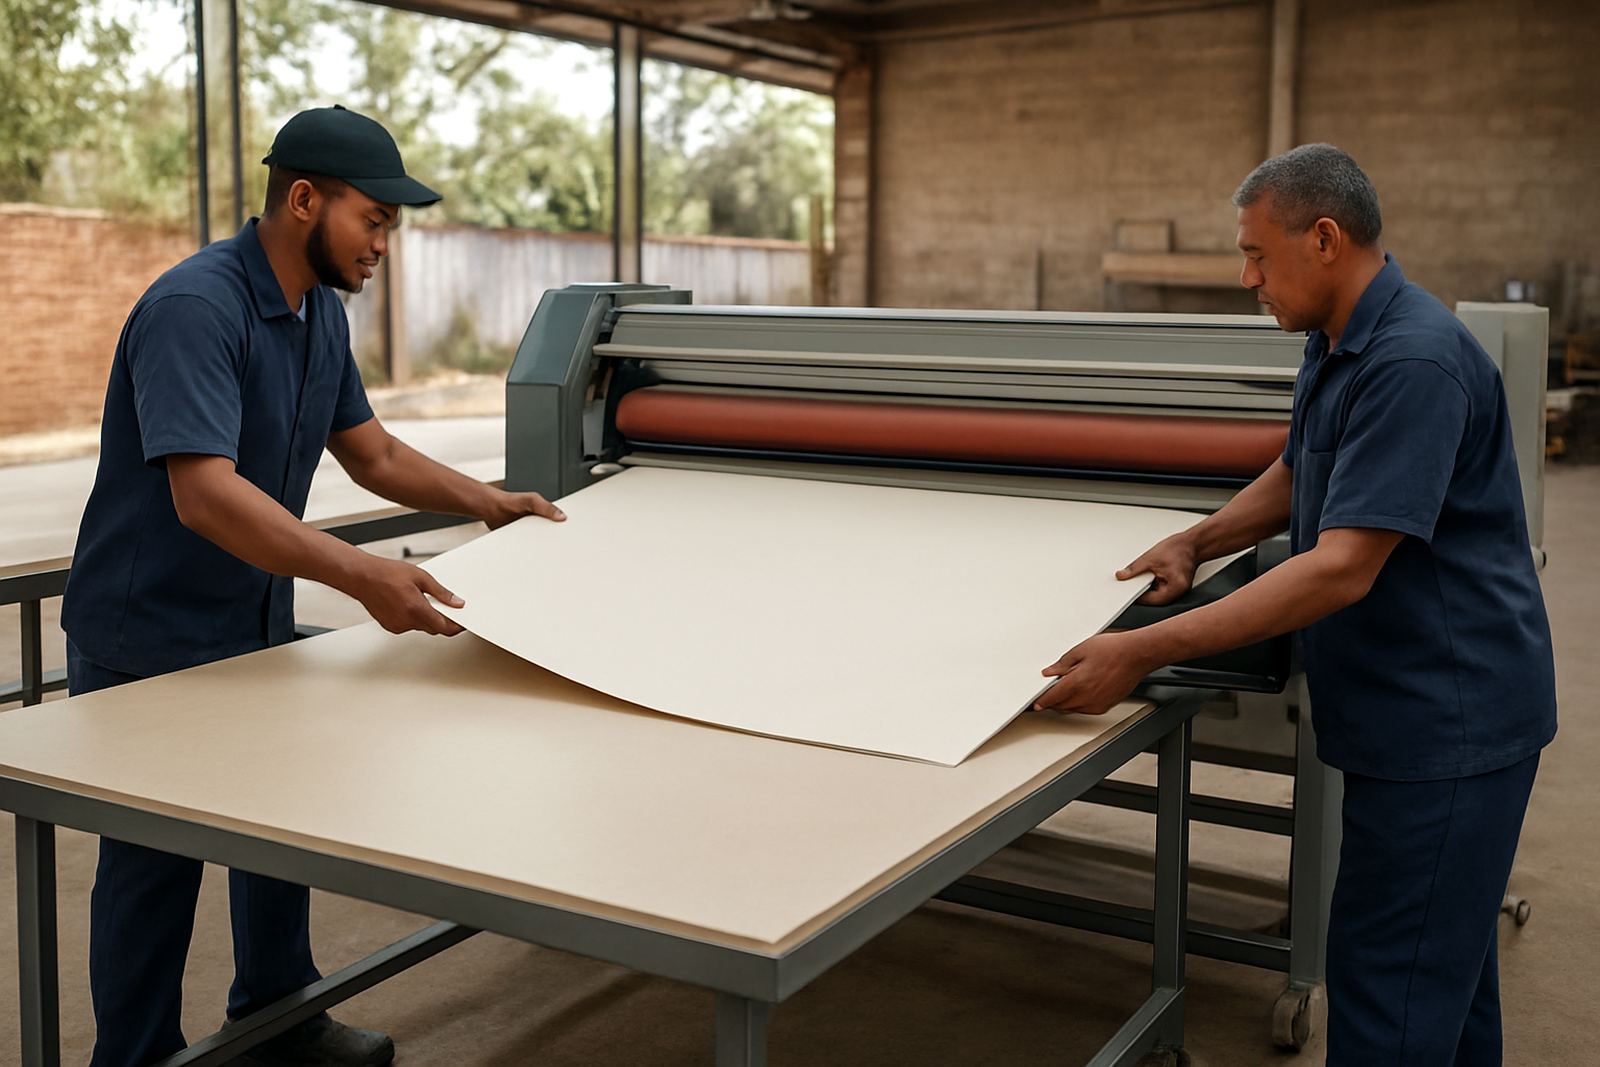
Check that the panel is flat, dry and trimmed cleanly. For large signage, exhibition boards and interior display pieces, use a table that gives full support across the sheet. A small twist in a 1,200 x 2,400 mm board becomes very obvious once it is mounted. This is where prep saves time, because trying to pull a skewed board back into line usually makes the adhesive bond uneven and can leave shiny spots or bubbles.
- Store boards flat, not upright, to avoid curl.
- Wipe away cutting dust before mounting.
- Match board thickness to the final use and fixing method.
- Keep freshly cut edges out of damp areas.
Set the room up to beat dust and skewing
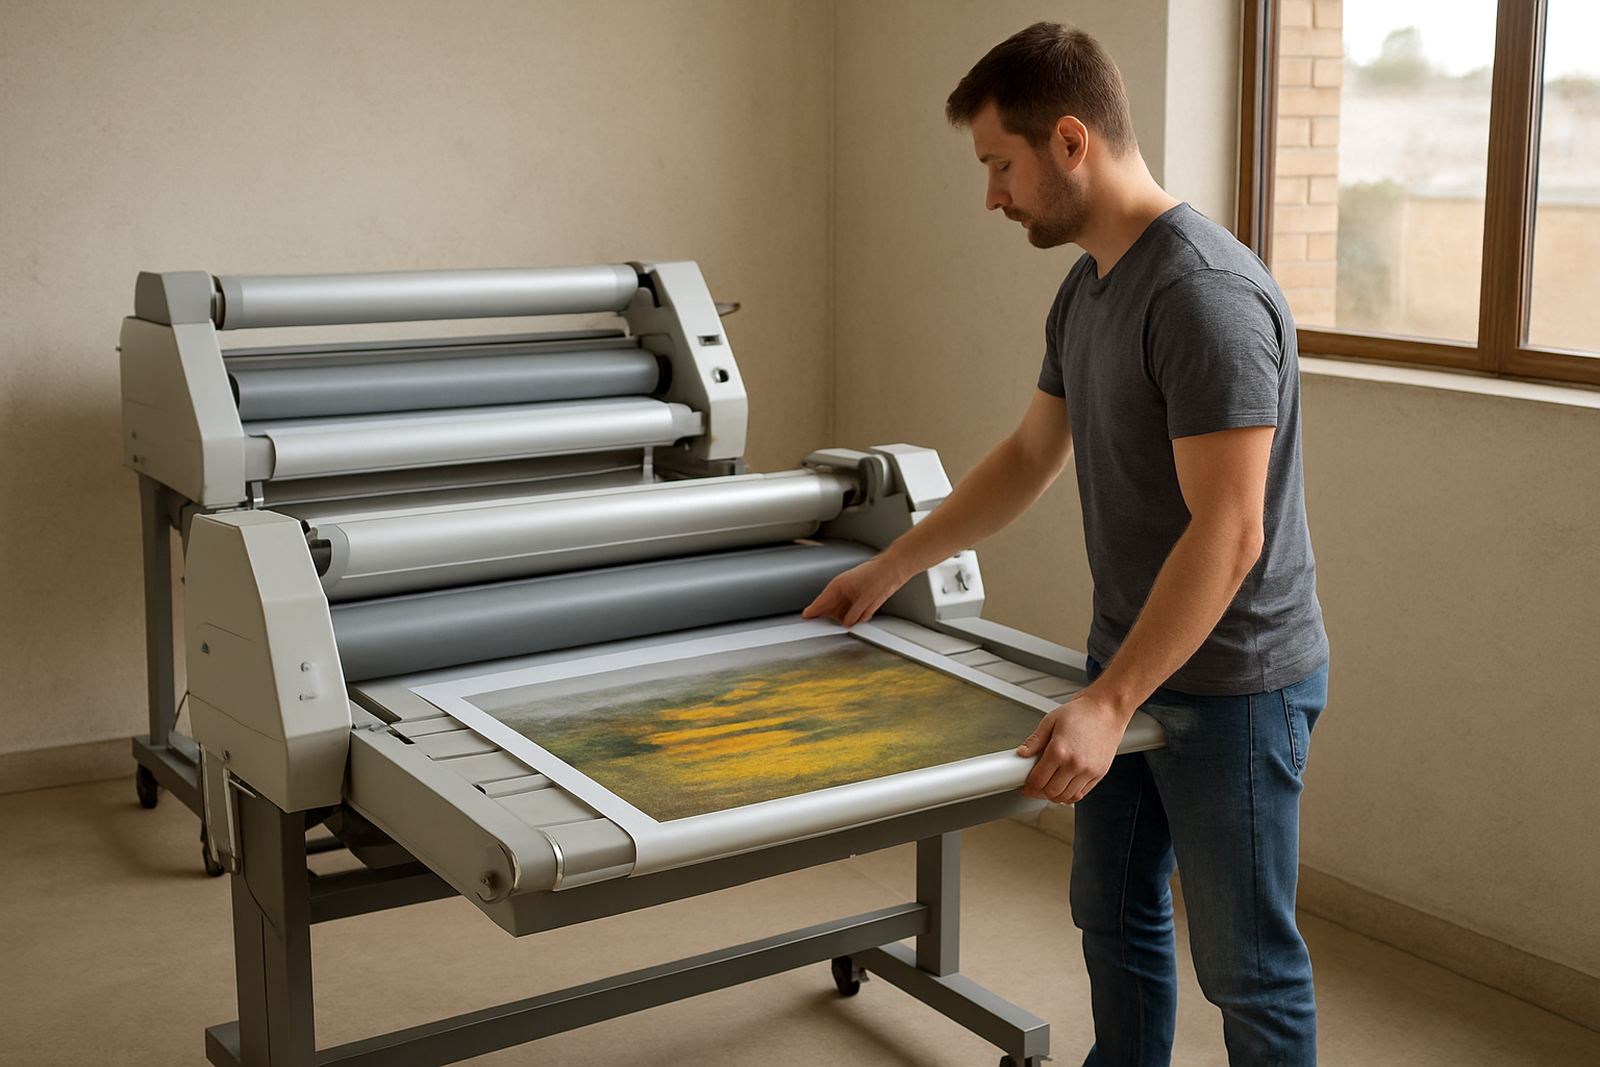
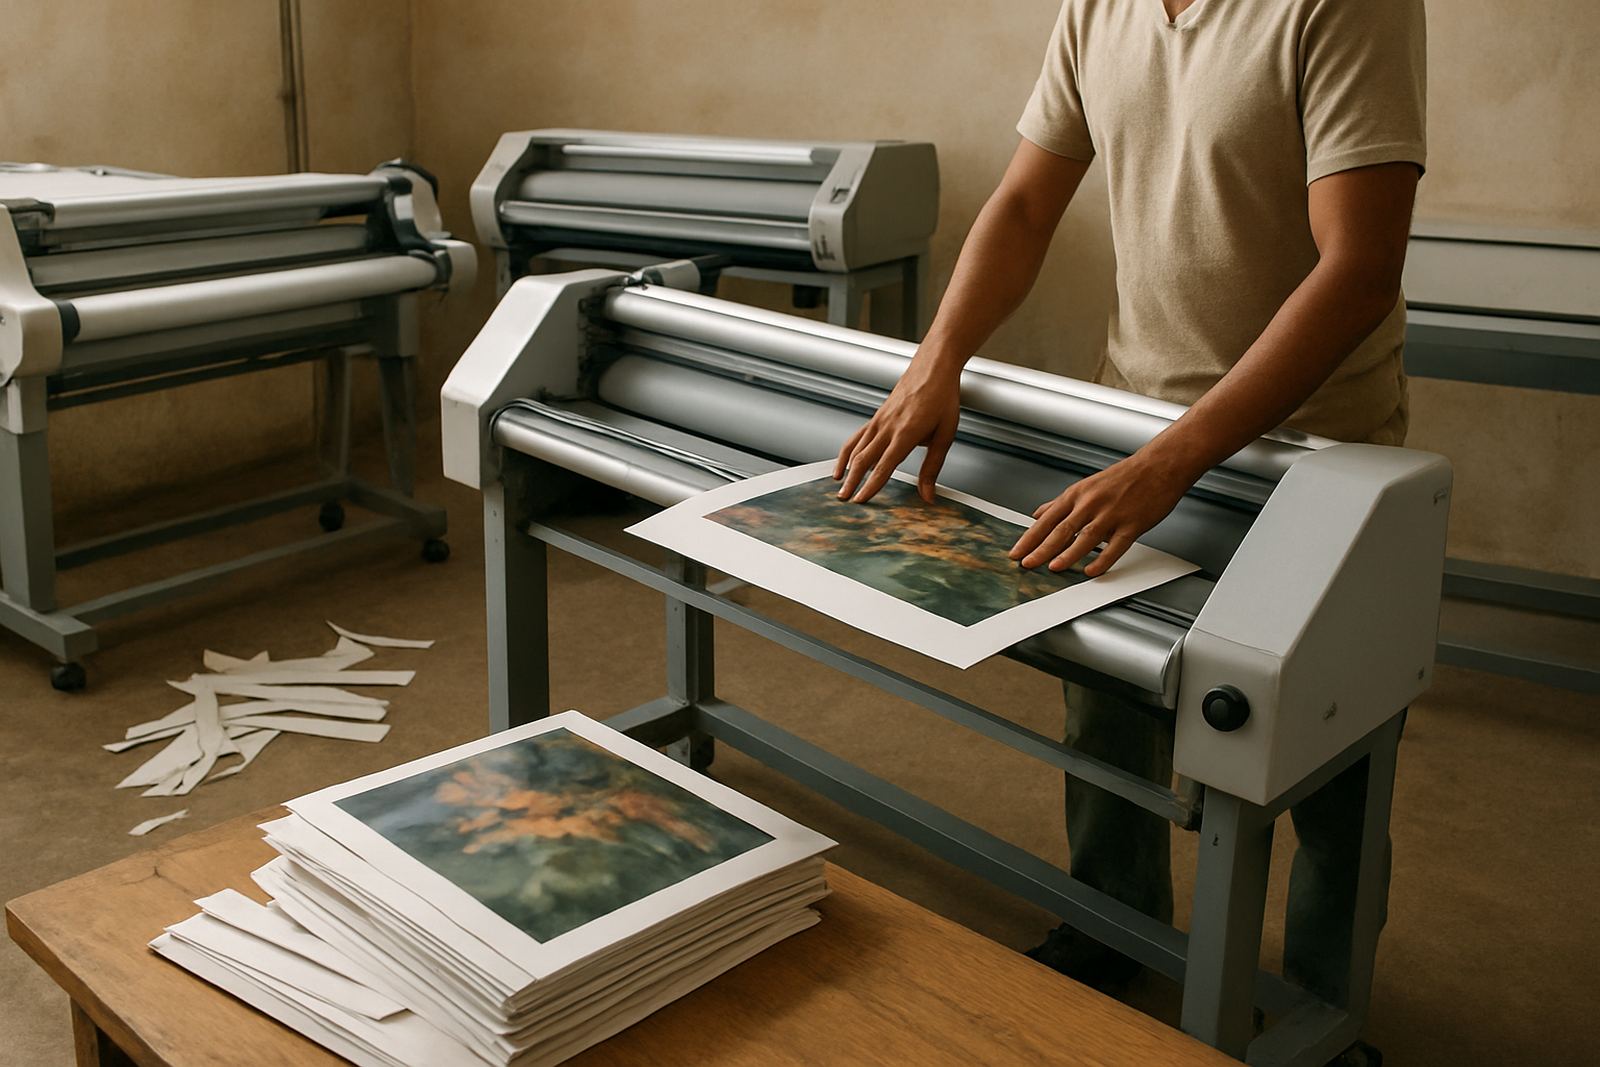
Mounting large panels is as much about the room as the machine. Fine dust, paper offcuts and loose foam beads are the usual culprits when a clean panel arrives with tiny trapped marks under the film. Before a run, clear the table, vacuum the area and check that the rollers, guides and pressure surfaces are clean. If the room has a lot of foot traffic, move the job away from open doors and busy walkways. A single gust from a roller shutter can push grit onto the adhesive side in seconds.
Skewing usually happens when the lead edge is introduced at the wrong angle or the operator is rushing the feed. On larger formats, use visual marks on the table and keep both sides of the board under control as it enters the nip point. A small correction at the start is easier than trying to rescue a whole sheet after it has already gone off line. In hot months, especially in coastal humidity or a warm warehouse in Midrand, it helps to allow materials to settle in the room for a while before use.
- Clean the work area before each shift, not only at the end of the day.
- Keep the pressure path free of scraps, tape and loose backing paper.
- Use alignment marks for repeat jobs, especially on batches.
- Let boards and films acclimatise to the room where practical.
Choose the right lamination method for the size
Cold roll mounting and heat-assisted work each have their place, but the wrong choice for the job can cause more trouble than it solves. Thin photographic prints, vinyl graphics and mounted artwork often need steady pressure and controlled feed rather than high heat. Larger rigid panels may need a process that helps the adhesive settle evenly without stressing the board. The point is to match the method to the material, not to force one process onto every job.
For print shops handling boards up to 1.6 metres wide, the difference between a neat finish and a rejected panel is often in the setup. Check roller pressure, film tension and feed speed before the run starts. If the job includes multiple panels for one wall graphic, test the first piece and measure it against the artwork, because a small stretch or edge lift on the first panel becomes a much bigger issue once the whole set is installed.
- Use a test piece on new media or unfamiliar board stock.
- Keep feed speed steady rather than chasing output too quickly.
- Check the leading and trailing edges for lift after each pass.
- Do not mix boards of different thickness in one setup.
Plan for the installer, not only the press room
A well mounted panel still has to make it to site in one piece. That means thinking about lifting points, transport, storage and the method of fixing long before the job leaves the shop. A panel that looks perfect on the table can pick up edge stress if it is carried by one corner or leaned against a rough wall. For work going into offices in Sandton, retail centres in Randburg or municipal buildings in Pretoria, the install team needs a panel that is flat, labelled and protected against scrapes.
Large boards should be packed so the face cannot rub and the corners cannot crush. If the site has strict access rules or limited loading time, pre-label each panel in the sequence it will be fixed. That cuts handling and prevents the common problem of swapping pieces around on site. On exterior or semi-exposed jobs, check the edge sealing and be honest about whether the board will cope with moisture, sun and daily cleaning.
- Mark each panel by position before packing.
- Protect corners with proper edge guards, not loose offcuts.
- Use clean blankets or spacers between stacked sheets.
- Confirm site access, lift size and fixings before dispatch.
What to inspect when a panel starts to go wrong
If a large panel starts to drift, do not keep feeding and hope it sorts itself out. Stop and inspect the cause while the fault is still small. Look for a dirty roller, uneven pressure, a bowed board, a film tension issue or a room full of airborne dust. In many cases the problem is not one thing but a mix of small faults that add up. A slightly uneven edge, a bit of drag on the feed and a warm afternoon can be enough to spoil an otherwise good job.
For shops across Kya Sand, East Rand and Midrand, regular servicing helps catch these issues before they interrupt production. Roller cleaning, pressure calibration, heat checks, drive repairs and electrical fault finding all matter when you are trying to keep wide panels square. If the machine is used daily, set a simple log of recurring issues so the team can spot patterns, not just react to breakages.
- Record when skewing, bubbles or edge lift first appear.
- Check rollers for residue after every busy run.
- Note whether the fault happens on one side only.
- Schedule corrective checks before peak periods.
A practical Johannesburg example
A Kya Sand print shop taking on a batch of 20 large display boards for a Sandton launch will usually save more time by planning the sequence than by trying to move faster. The team can cut, clean and mount in one direction, keep the room closed to dust, and stack finished panels in the order they will be installed. If one board shows a slight drift on the first pass, the operator can adjust immediately instead of carrying that same fault through the whole batch.
This kind of planning matters even more when power interruptions, busy loading bays or tight delivery windows are part of the day. A clean setup, clear handling sequence and checked machine settings give the job a far better chance of landing on site with no surprises. That is the difference between a panel that looks acceptable in the workshop and one that still looks right after transport, fixing and final inspection.
If you are mounting large panels regularly, treat the process like a controlled workflow rather than a single pass. That approach keeps rework down, protects material value and gives the finished job a better chance of lasting where it is meant to be seen.