
Why photographers laminate printed work
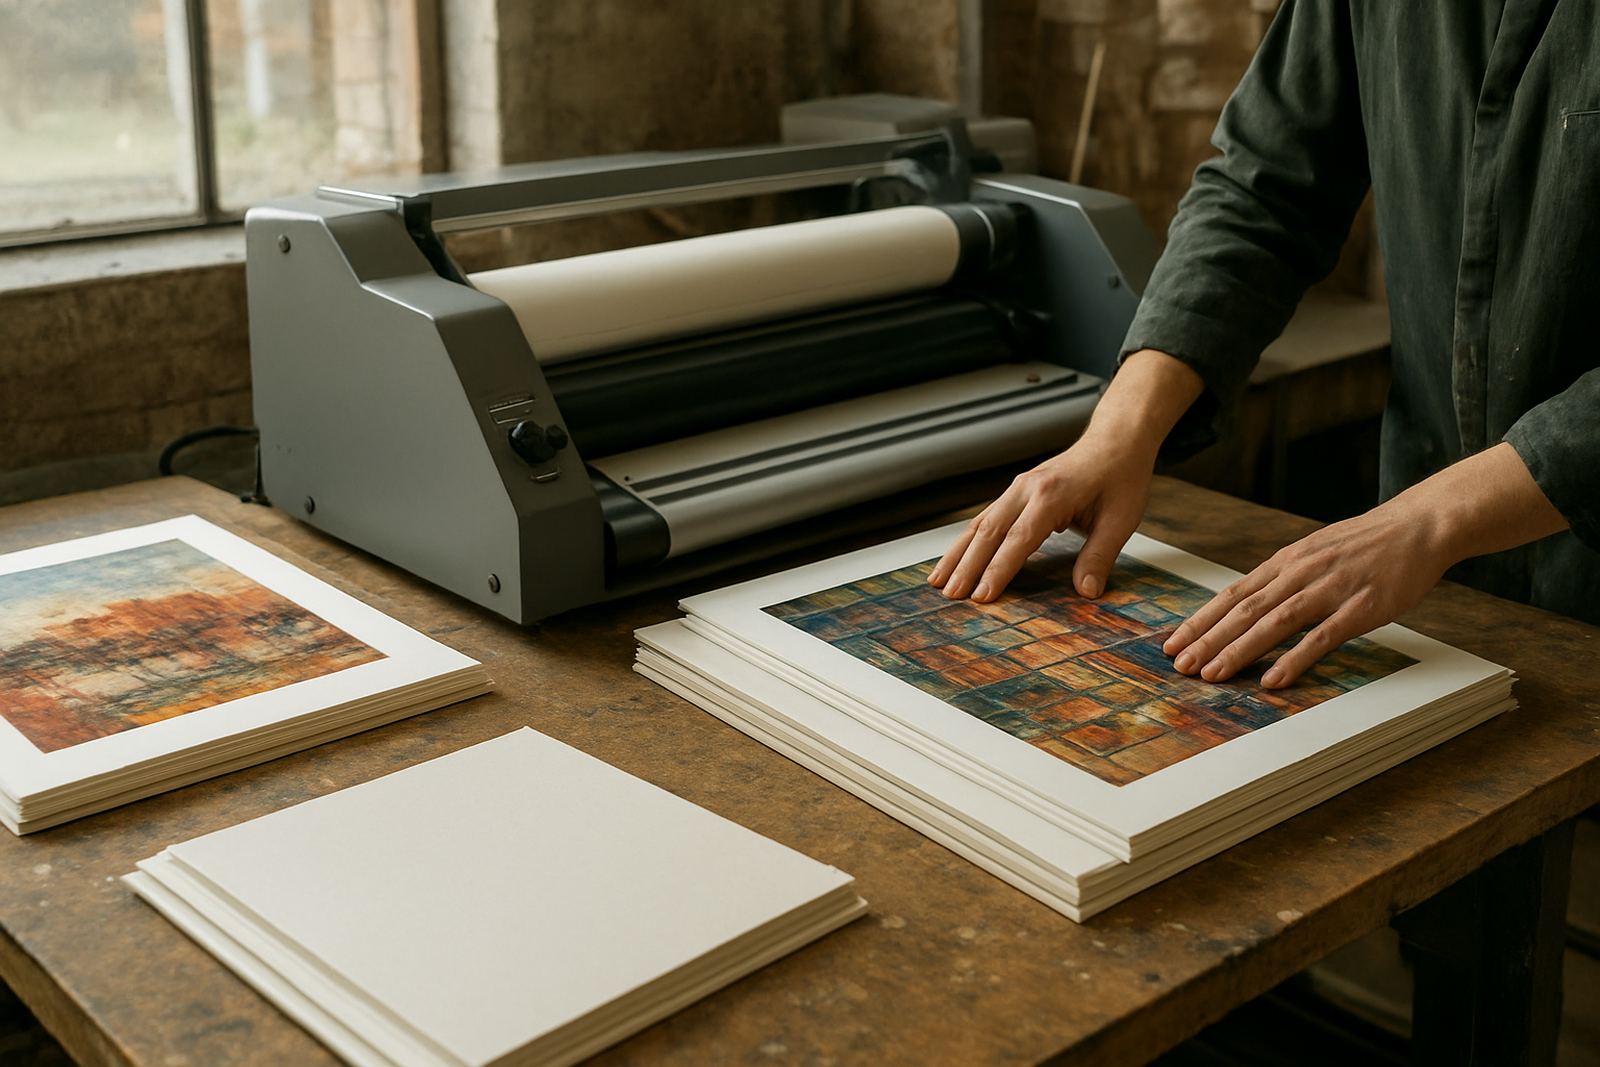
Photographic prints are often handled more than people expect. They move from proofing tables to client viewings, then into portfolios, frames, exhibition panels or retail displays. A good lamination finish helps protect the surface from fingerprints, light scuffing and moisture, while keeping the print looking sharp for longer.
For studios in Johannesburg, Pretoria, Sandton and the East Rand, lamination is also useful when work must be transported between shoots, galleries and corporate offices. Coastal clients in Durban and Gqeberha often ask for extra protection because humidity can affect stored prints and mounted material. If a print is meant to be shown rather than filed away, the finish has to look even and professional from edge to edge.
Not every photographic job needs the same approach. Gloss work, matte fine art prints, backlit pieces and mounted enlargements all need different handling. The right roll laminator gives you control over pressure, heat and feed speed so the final result suits the print instead of fighting it.
Typical machine setups for photo studios and labs
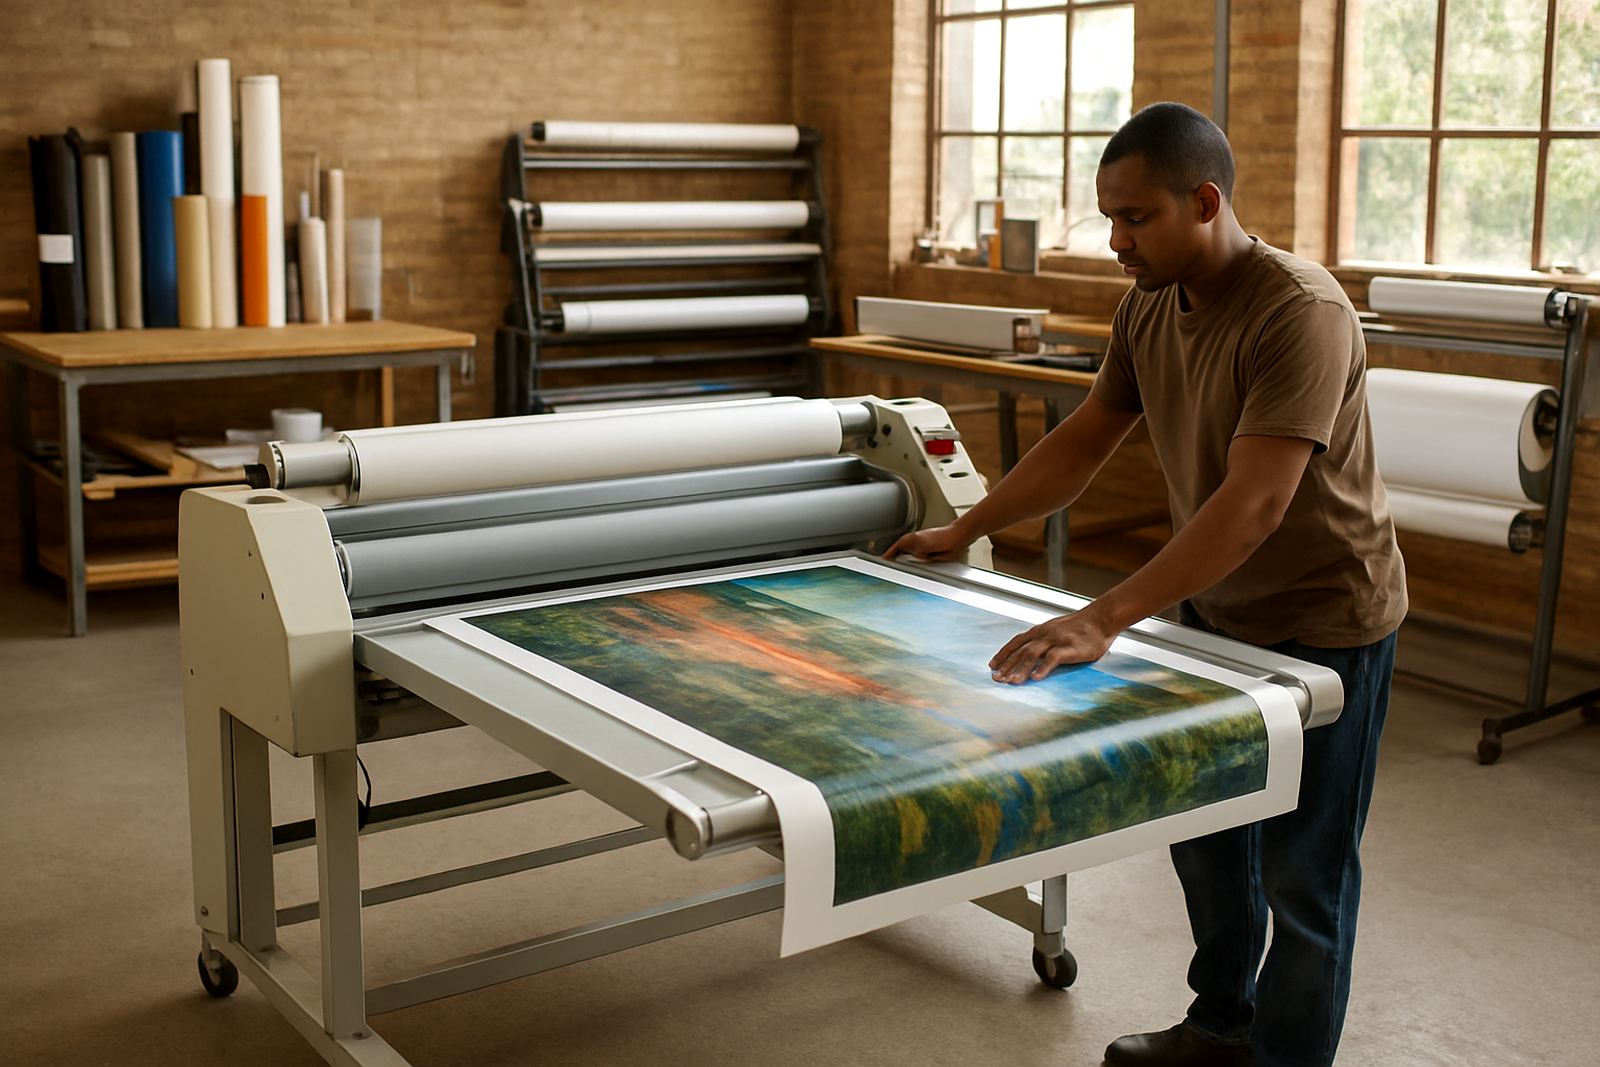
Most photographers do not need heavy industrial equipment. What matters is reliable width, steady rollers and settings that match the print media you use most often. A 1 000 mm to 1 400 mm machine suits many studios that produce standard enlargements, mounted presentation boards and portfolio sheets. Larger labs working with exhibition graphics may prefer wider units for A0 and panoramic work.
Cold roll systems are popular for heat sensitive photographic papers, adhesive films and mounted display items. Hot roll units suit certain encapsulation and finish work where controlled heat helps the laminate bond properly. If you run mixed jobs, ask for a setup that can manage both light daily work and heavier pieces without making the operator guess at settings every time.
- Wide-format cold roll laminator for photographic papers and mounted output
- Hot roll machine for controlled bonding on specific finishes
- Take-up and feed support for long runs and panoramic images
- Pressure adjustment for smoother entry on thin prints
- Skid free stand or proper table space for stable handling
Layout and planning for a clean workflow
A laminator performs best when the space around it is planned properly. Photographers often set up in compact studios, so the machine must sit where print handling is easy and where finished pieces can cool flat. Leave enough room at both ends for feeding and receiving sheets, especially with larger portrait prints or exhibition panels.
Keep the laminate rolls, trimming tools and backing material close to the machine but not in the walking path. It sounds basic, yet crowded spaces are where edge lifts and crease marks start. Good lighting matters too, because you want to spot dust, fibres and roller marks before a client sees them.
In areas where power cuts are still part of daily life, plan for safe shutdown and restart procedures. A mid-job interruption can leave heat settings unstable or cause wasted material. If your studio serves walk-in clients, the operator should also have a simple way to track job order, paper type and finish type so the wrong print does not get the wrong film.
- Measure the largest print you actually send out, not just the occasional special job
- Allow space for trimming and inspection after lamination
- Separate clean print handling from framing and packing areas
- Store rolls in a dry room away from direct sun and workshop dust
Common mistakes with photographic lamination
One of the biggest mistakes is using too much heat on a print that should stay cold. Fine art photographic paper can buckle, change sheen or show surface distortion if the machine is set too aggressively. Another mistake is poor roller cleaning, which leaves marks that stand out on smooth tonal images and skin tones.
Dust is another issue. A tiny speck may not bother a workshop poster, but on a portrait or gallery print it can ruin the result. Operators also sometimes run material too fast because they want to finish quickly. That leads to weak bonding, bubbles and uneven pressure at the edges.
Photographers in coastal areas should be careful with storage after lamination too. If finished work is packed before it has settled properly, trapped humidity can affect the finish. It is worth keeping a simple drying and cooling routine, even if the job is small.
Budget ranges for studios and print rooms
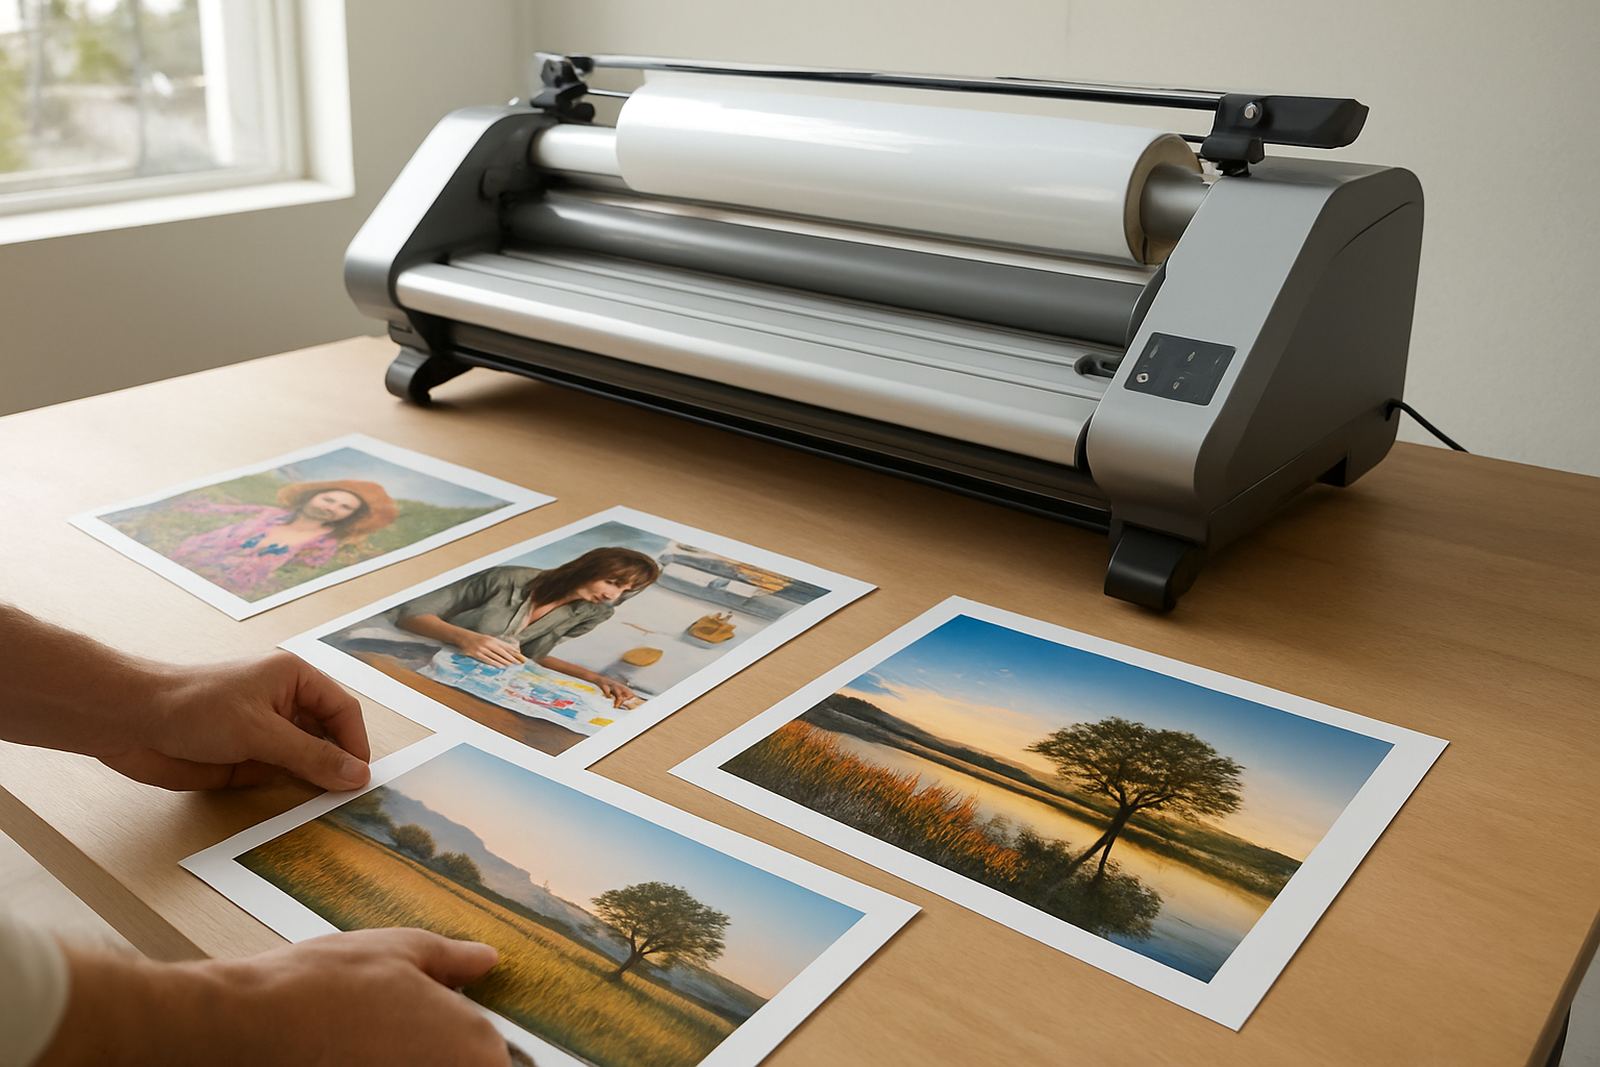
Budget depends on width, controls and how much daily work the machine must handle. For smaller photography studios that need occasional portfolio finishing or client presentation pieces, entry level wide-format units may start from around R35 000 to R65 000. These are suited to lower volume work and straightforward print sizes.
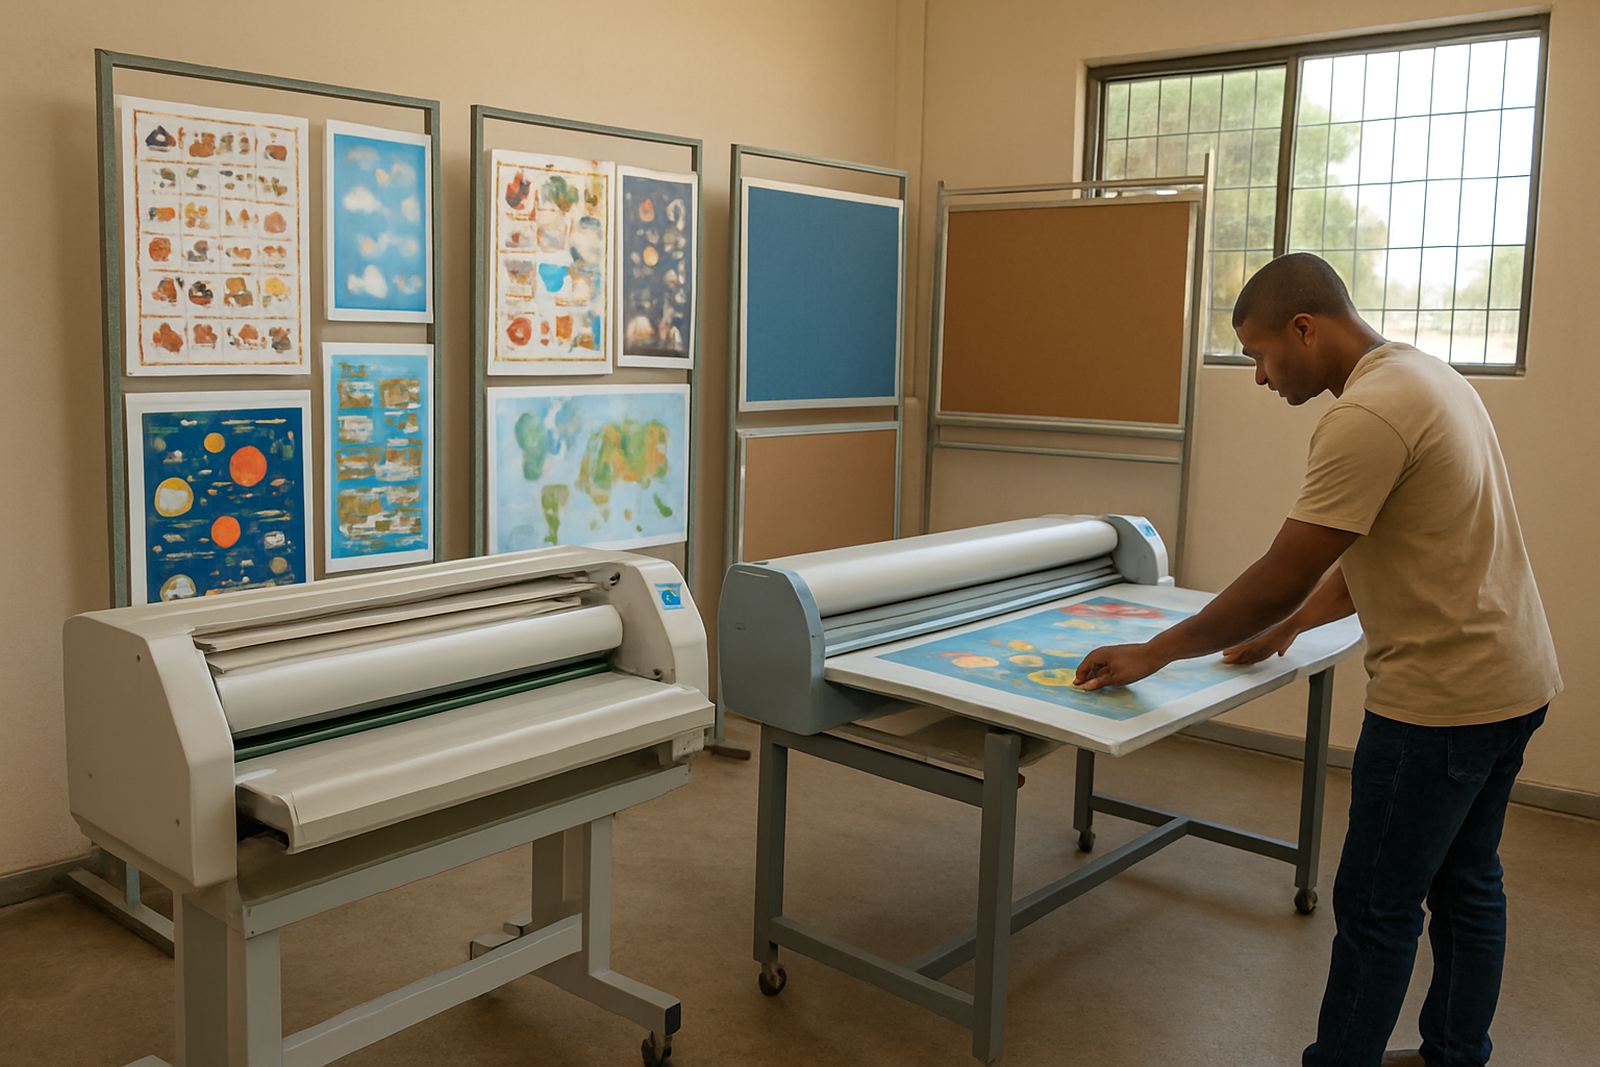
For busy labs, schools, commercial photographers and print rooms that handle larger volume or wider sheets, expect to spend roughly R70 000 to R140 000 or more. Better pressure control, stronger drive systems and wider formats cost more, but they also reduce waste and rework. That matters when you are finishing premium prints for paying clients.
Do not forget running costs. Roll film, spare parts, routine servicing and training all affect the real price of ownership. A machine that is cheaper upfront can cost more if it needs frequent adjustment or produces inconsistent results. For many photographers it makes sense to compare total monthly use rather than only the purchase price.
Support for Johannesburg studios and nationwide installs
Laminator is based in Kya Sand, Johannesburg and supports photographers, print shops and creative studios across South Africa. We work with clients in Randburg, Sandton, Midrand, Pretoria and the East Rand, and we also install nationwide where required. That includes help with setup, operator guidance and practical advice on matching the right machine to your print volume.
Our support services include routine servicing, roller cleaning, pressure calibration, heat system checks, drive system repairs, electrical fault finding, on-site breakdowns, spare parts support, operator refresher training and pre-purchase inspections. For photography work, those checks help keep the finish consistent from one job to the next. If your studio depends on daily output, that consistency matters more than people think.
For advice on a setup that suits your studio size, print style and monthly volume, speak with our team in Kya Sand. We can help you compare practical options and plan for the type of photographic work you do most, not just the occasional big run.